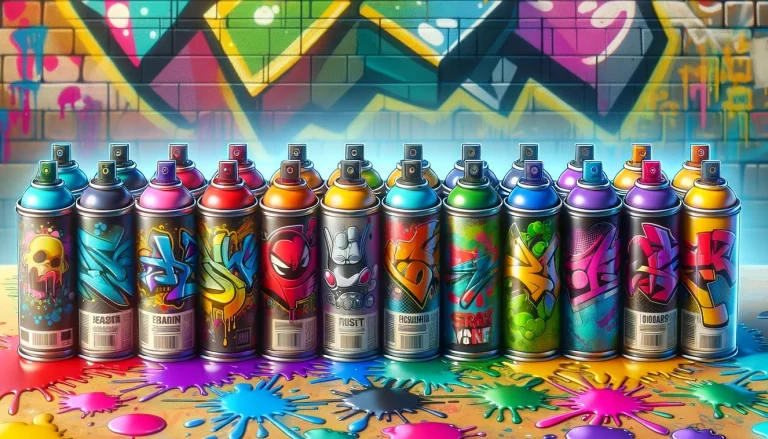
Spray Can Caps Guide – 5 Step Maintenance Plan
Spray cans are essential for miniature painters – whether you’re priming, sealing, or applying texture. But when the cap clogs or spits, that smooth finish becomes a nightmare. In this guide, we’ll walk you through a simple, repeatable 5-step plan to clean your spray caps, prevent blockages, and extend the life of your cans. From DIY solutions to aftercare habits, this maintenance method can save you money, reduce waste and keep your painting flow uninterrupted. Let’s keep your rattle cans rattling.
Spray Can Caps Guide to Anatomy
An interesting point to note early on is that both spray cans and caps can be either male or female. Understanding the anatomy of your spray cans will help you get to know them better. Caps (also known as nozzles and nibs) are those small plastic components that once pressed, release pressure from the can and fire out the paint. Available in a myriad of designs, akin to to paintbrushes. Different caps allow for different effects – just like brushes. Generally speaking a cap that creates a narrow line is known as a ‘skinny’ cap, and a cap that makes a wide one a ‘fat’ cap. Cap types then become more specialised, varying according to application and product. Specialist primers for example often ship with a stock fine spray.
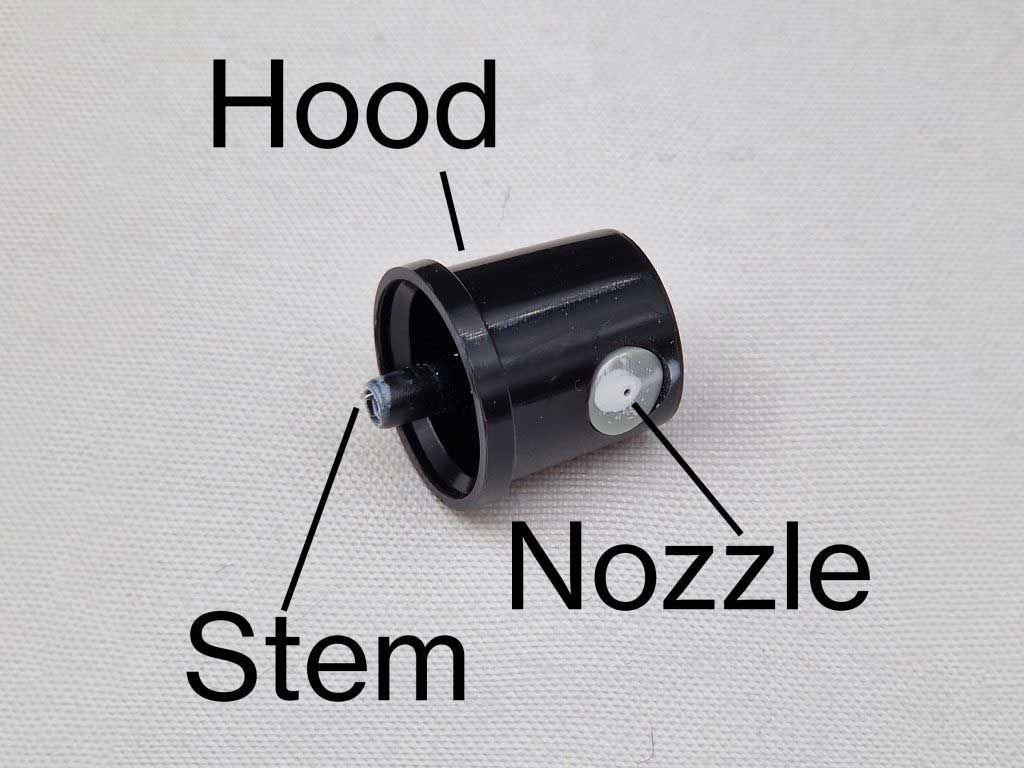
Whatever their forms, caps comprise three core components: a hood, a nozzle and a stem. Like many engineering components, both cans and caps can be male or female. Understanding the anatomy of your can caps will help. Caps – also known as nozzles and nibs. Small plastic components that once pressed, release pressure from the can and fire out the paint. Different caps allow for different effects – just like brushes. Generally speaking a cap that creates a narrow line is known as a ‘skinny’ cap, and a cap that makes a wide one a ‘fat’ cap. Cap types then become more specialised, varying according to application and product. Tabletop artist primers for example often ship with a stock fine spray. Whatever their forms, caps comprise three core components: a hood, a nozzle and a stem. Like many engineering components, both cans and caps can be male or female.
 Spray Can Cap Anatomy
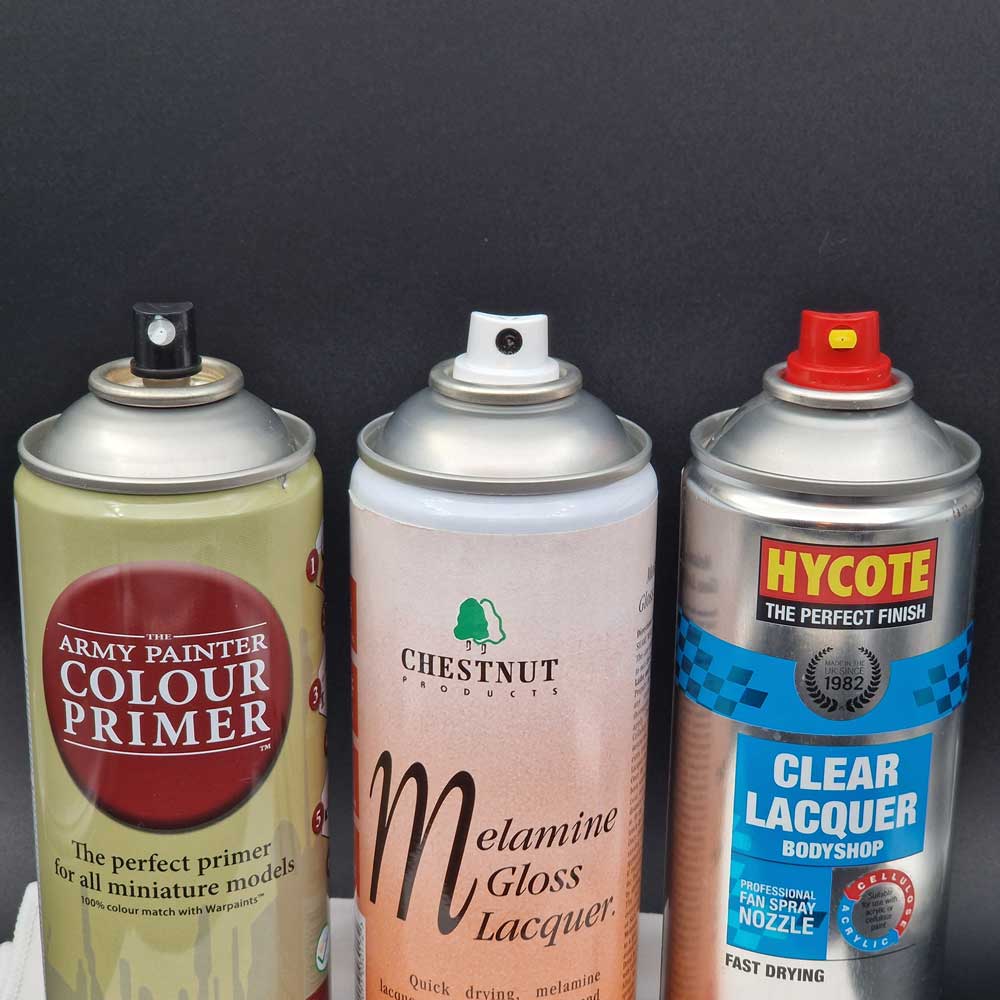 Spray Can Cap Types
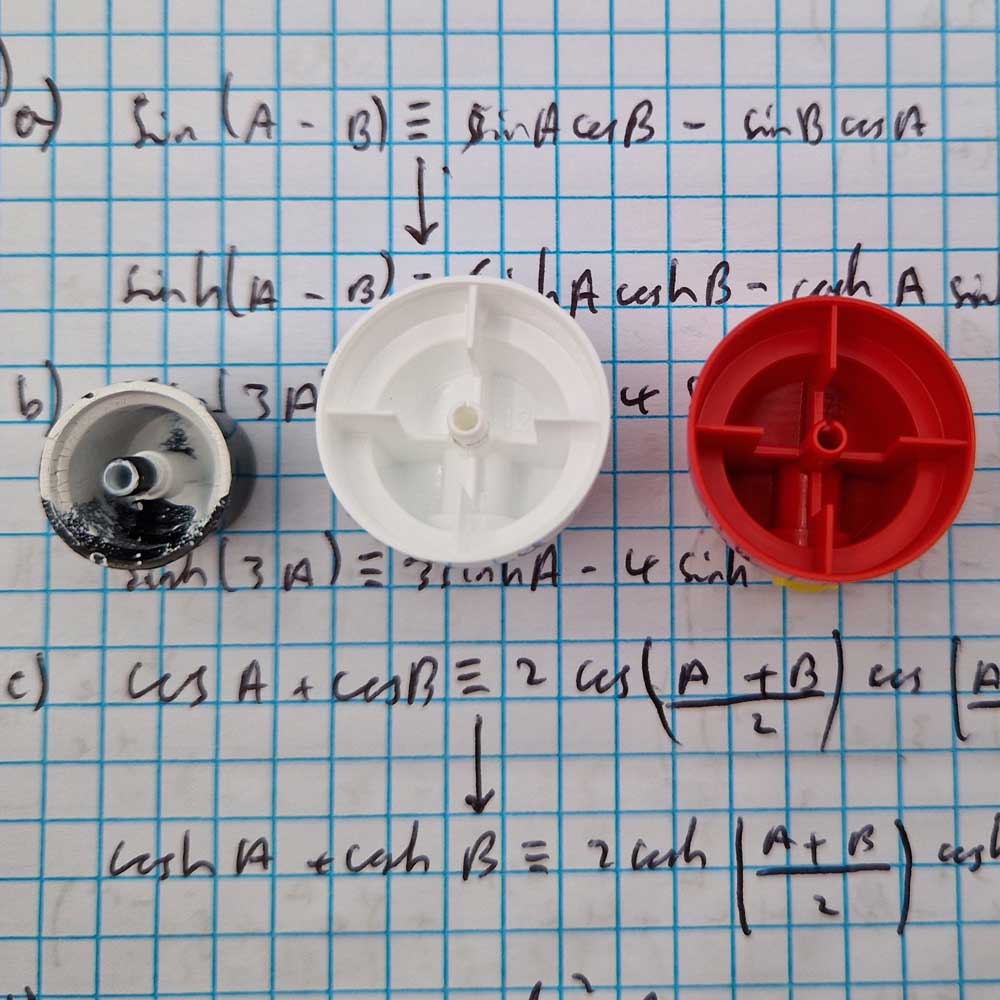 Blocked Can Cap
The Hood
The plastic you press to release paint vary in shape, ergonomics, size and colour, and can be either single or two piece in design. Two piece hoods feature a separate rather than integrated stem.
The Nozzle
Arguably the most critical component, directly influencing the quality and precision of paint application. A nozzle that gives precise control over the spray pattern can make a big difference, transforming a good finish into a great one. Nozzles come in various designs, suited to unique applications and spray patterns. In terms of identification, you’ll often see nozzles referred to as black dot, gold dot, pink dot and so on. Referencing the look of the nozzle on the hood, a dot. But there are plenty of alternative shapes.
The Stem
Last but not least the stem, the tube connecting the nozzle to the paint source, but not all caps have one. This distinction defines the difference between “male” and “female” caps. Male caps incorporate a stem, to fit female spray paint cans. Female caps don’t and fit to male cans. With single piece male caps the stem is permanently fixed, this is often case with stock caps. But there are two piece versions available with removable stems, designed to fit both female and male cans. With needle nose pliers, these stems can be carefully extracted, converting the male cap into a female version.
Why Does Cleaning Spray Caps Matter?
Avoiding splatter additional texture is critical. A clean cap leads to smoother coats, which really matters when you’re understanding colour flow and balance. Follow this 5 point spray can caps guide to keep your caps in tip top condition.
1. Prevents Spluttering
When a rattle can nozzle gets clogged, it disrupts the smooth, consistent spray needed for priming and base coating miniatures. Dried paint or debris build up in the nozzle can cause:
- Sputtering – leading to thick, uneven patches
- Weak sprays – resulting in poor coverage.
- Total blockages – more time needed for cleaning.
2. Consistent Flow
Clean nozzles allows for a steady flow of paint, helping to achieve:
- Smooth even coats with no texture issues.
- Proper atomisation – fine mist rather than large droplets.
- A more controlled application – reduced over-spraying
3. Reduced Wastage
By cleaning your rattle can caps after each use, you can reduce product wastage and get the most value out of each spray can.
5 Steps Maintenance Plan
This simple to follow spray can caps guide helps you develop your own 5 Steps cleaning and maintenance routine. Steps 1, 2 and 5 are not optional, they should be integrated into your regular routine. Steps 3 is a nice to have, especially after heavy use. Introduce step 4 as soon as you notice diminishing spray pattern quality. Introducing step 3 reduces the frequency of step 4.
STEP #1 – Flush
After you’re done spraying, turn the can upside-down and press the hood until only clear propellant sprays out. This helps push any residual paint out of the nozzle to prevent blockages. This doesn’t get everything out but it is reasonably effective.
STEP #2 – Wipe
Then with a paper towel, gently wipe away any excess around the nozzle. Since its unlikely that you’ll be doing this immediately after using the spray can, a little acetone at this stage can help dissolve any external paint. Don’t worry about cleaning the can itself, focus on the mechanical nozzle area.
STEP #3 – Spray
If you want to get everything out and if you have one then a spray acetone is the best line of defence. This looks like a regular spray can but is loaded with acetone rather than paint. Consult can instructions for PPE and safety. Pop the dirty nozzle on the top and spray to flush and clean the internal components. Then wipe the outside as before.
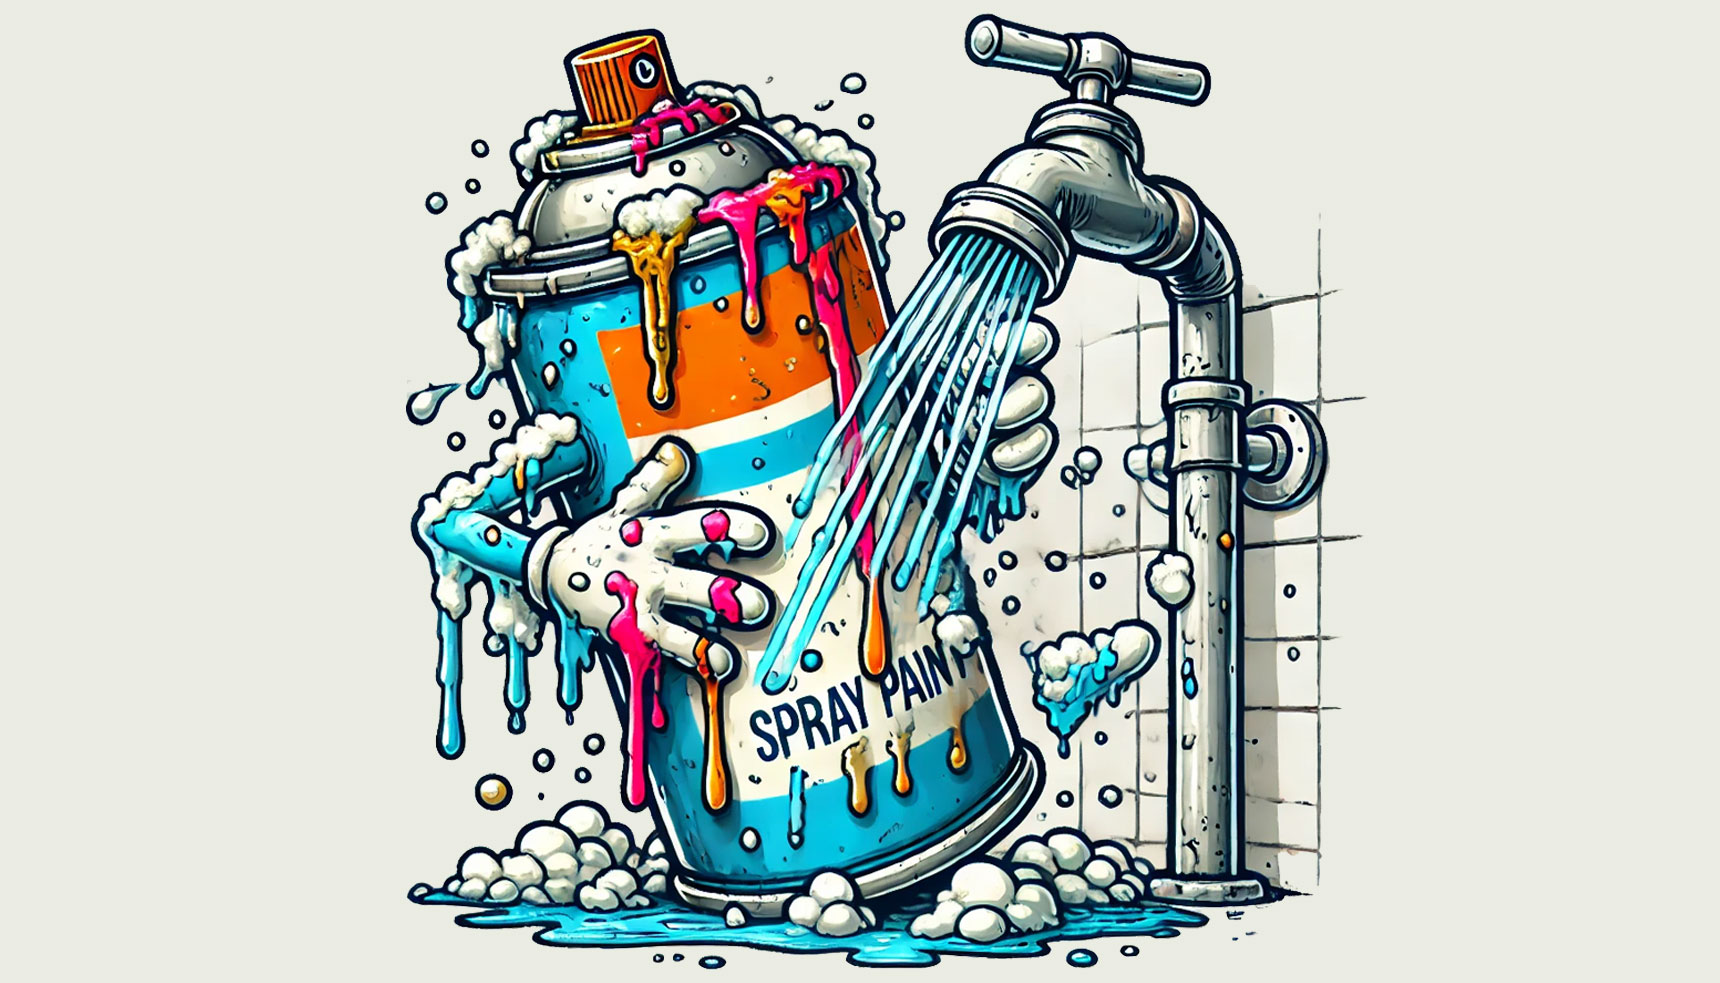
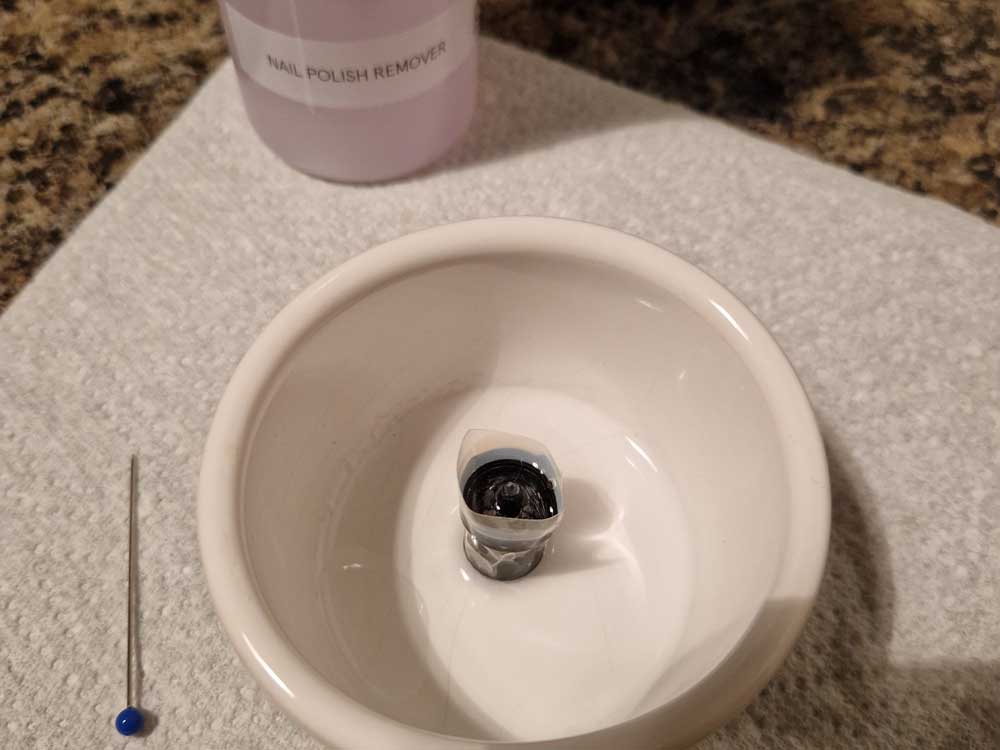
STEP #4 – Soak
Carefully remove the whole cap and soak it in acetone, paint thinner or solvent spray. Using a thin pin or needle to clear out any hardened paint inside the nozzle and stem. Its worth having a spare cap to hand – its also well worth salvaging usable caps for spares prior to disposing of your spray cans. If you have spray acetone then a quick blast with this after soaking could help to shift loose debris.
STEP #5 – Store Correctly
Store your spray cans upright in a cool, dry place. Avoid leaving them in cold garages or hot cars, as temperature extremes can affect pressure and performance.
Good Habits Lead to Better Results
Lessons from Graffiti artists – by following this spray can caps guide and taking a few extra seconds to look after your rattle can will save you from frustration in the long run. We found that prevention is a LOT easier, than cure. We didn’t have any spray acetone and so soaked our blocked can cap in acetone for 10 minutes (twice) and then scraped out both nozzle and stem with a thin pin. Both components were almost debris free. Results were not as good as we’d hoped, but we had hoped for perfection! Residual debris floating in the acetone had flushed back inside, hence the second 10 minute soak. Having said that, it worked, and was more than good enough to save the cap. Step 2 (Spray Acetone) would likely have prevented this. Whether you’re priming a single figure or an entire army of miniatures, developing a spray can cap cleaning and maintenance routine makes sense. By developing good habits, you’ll improve your painting process and achieve consistently better results – giving your artistry the professional looking finish you deserve.
 Cleaning Process
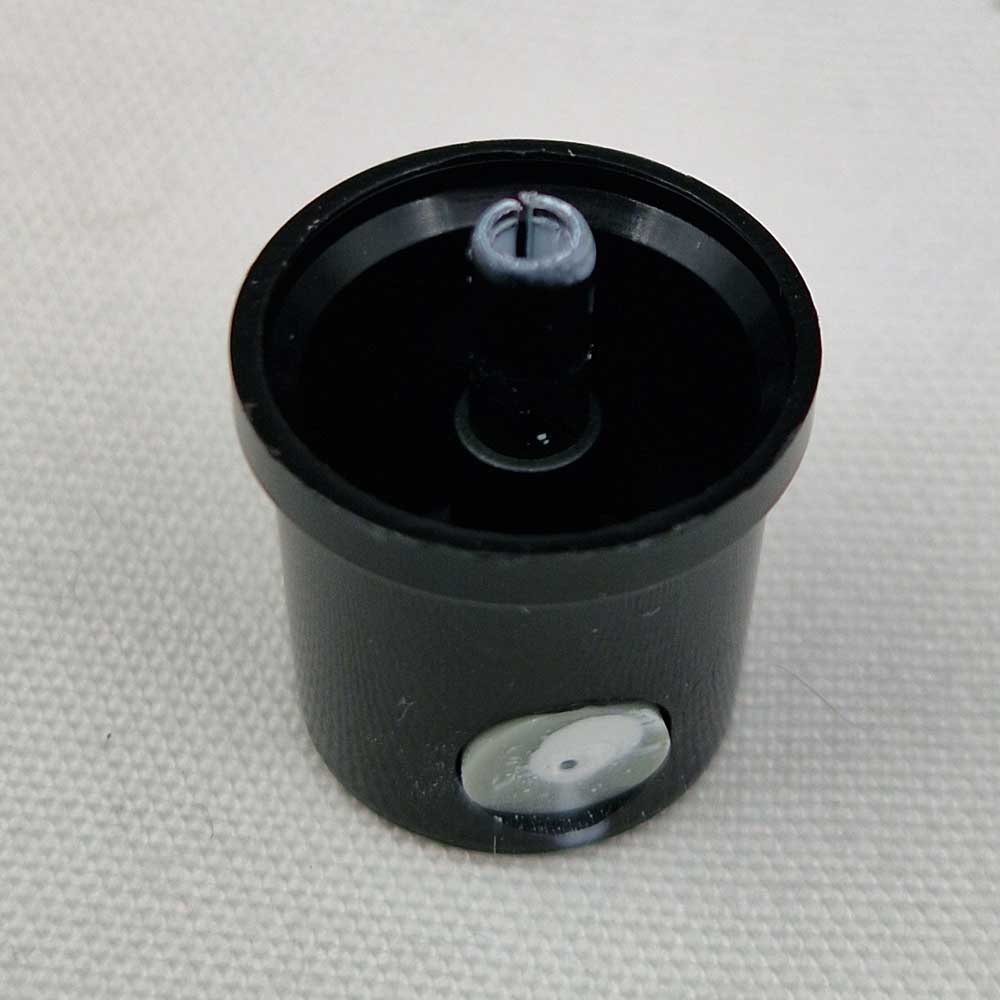 Cleaned Can Cap
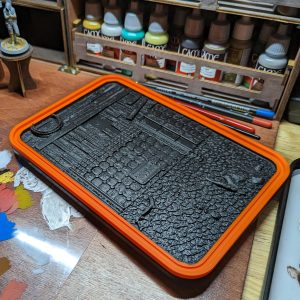
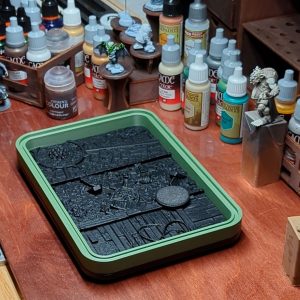
Tools Worth Exploring
If you’re enjoying the satisfying click of a cleaned spray can, there are other tools worth refining too. Our Dry Palette Guide walks you through how to keep your brushwork smooth and controlled, ideal for artists who want precision panting after a precision prime. Prefer to skip the tutorial and just get your hands on one?
Our best-selling dry palettes help your paint retain moisture for dry brushing – perfect for a smoother, more premium finish.
Frequently Asked Questions
FAQ
What to Read Next
Colour Theory Your New Best Friend
Learn how complementary colours, saturation, and value can transform your minis.
Choosing a Primer for Miniature Painting
From rattle cans to airbrushes – how to find the right tool for your models.