Dry Brushing Introduction

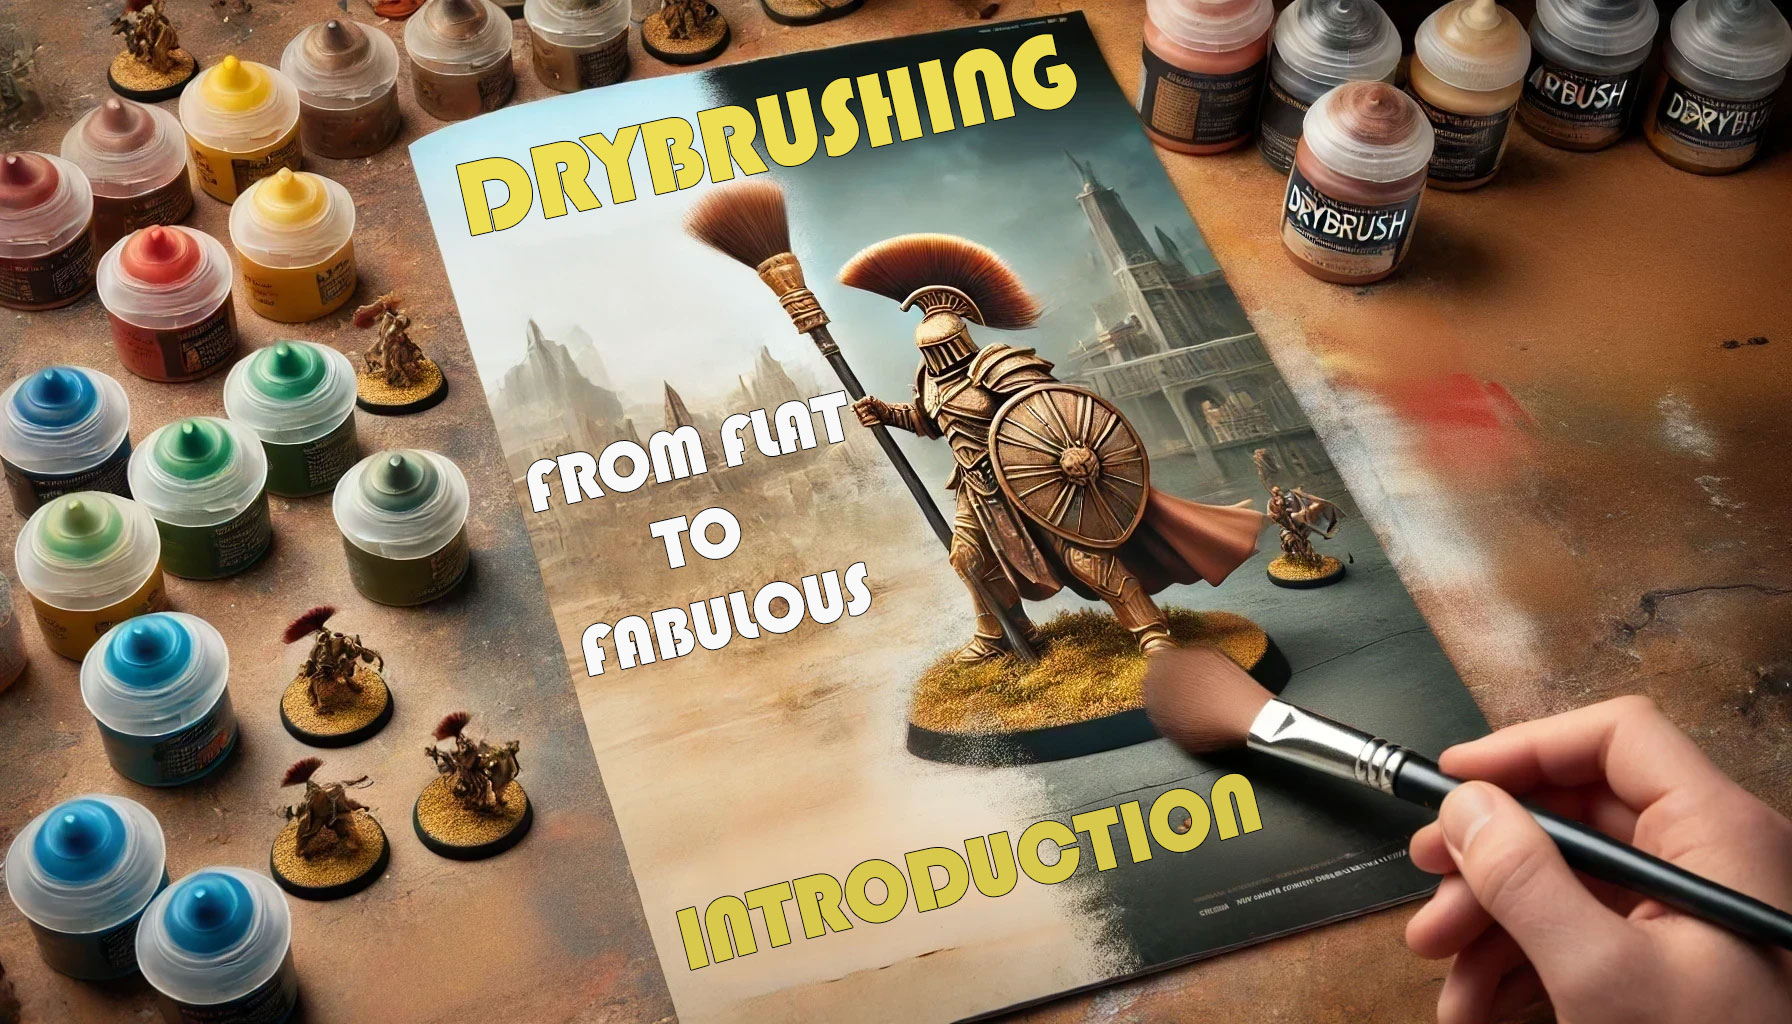
An AI generated image of a poster promoting an introduction to dry brushing.

What Is Dry Brushing?

Dry brushing is a painting technique that enhances texture and highlights details on miniatures, models and terrain. It involves using a brush with minimal paint to catch raised surfaces, creating natural highlights and depth without intricate blending. This technique is especially popular among miniature figure painters, model train enthusiasts and scale modellers for its ability to quickly bring out fine details. It can of course be used as a final step, but where dry brushing really shines is as an foundation layer. Building highlights and shadows for future layers to showcase.

Dry brushing leaves additional texture behind so is naturally not as well suited to for example, representing skin. Conversely it can work phenomenally well with stone or terrain, because there is a natural texture in existence there. That said in the hands of a skilled dry brush artist, anything is possible. Often with the use of higher quality softer denser brushes, and an ever so slightly wetter paint. This is where dry pallets come in useful, they help to retain moisture, reducing texture for a smoother finish. Most beginners start with a sheet of paper towel.

  • Texture enhancement: emphasizing raised areas.
  • Highlights: without complex layering and blending.
  • Speed: shading, highlighting & stipple base coating.
  • Versatility: miniatures, models and scenery.

Tools and Materials Needed

To get started with dry brushing, you’ll need:

  • Brushes – The two extremes of speciality dry brushes and inexpensive makeup brushes work well. Generally speaking, natural bristles will give you a softer finish than synthetic makeup brushes. If splashing out, look for a quality brush with a high density of bristles to minimise clumping. There are two main styles of dry brush, flathead and broad surfaced roundhead – for different effects. With the latter being the most popular and most preferred by professionals.
  • Textured Dry Palette – A modern specially designed tool to help manage paint consistency by retaining moisture. The old school way was to use a paper towel, which dries out paint leading to a grainy finish.
  • Acrylic Paints – Lighter shades work best for early explorations into dry brush highlighting.

How to Dry Brush – The Basics

  1. Prepare Your Paint – Use a dry texture palette to control the amount of paint on your brush. Using your brush, place a very small amount of paint onto the palette. Work it into the palette, onto some of the texture that is on the palette.
  2. Apply Your Paint – Once most of the paint is off, with very light strokes gently dust the brush over the surface high points. The surface being dry brushed determines direction and intensity of those strokes.
  3. Reload Your Brush – Rather than fully reload each time, slightly dampening the bristles on your wet palette the tiniest amount, can help to activate paint left in the brush in between loads. Bristles should not look/feel wet, nor become oversaturated.
  4. Build Layers – Use multiple passes to enhance depth and refine as needed.

Common beginner mistakes:

  • Using too much paint on the brush.
  • Applying thick layers.
  • Pressing too hard in random directions.
  • Pressing paint into crevices.
  • Using stiff or clogged brushes.
  • Using non contrasting colours.
  • Not allowing primer/base coat to dry first.

First Dry Brushing Exercise

Begin with a textured base or a simple terrain piece. Apply a darker base colour or primer. Let it dry then use dry brushing to enhance details with a lighter shade. Experiment with different pressure levels, brush angles and paint load to see how technique affects the final look. Keep detailed notes – this can feel challenging since you probably just want to get on with your projects. But, keeping a record of disasters and successes will help you in the long run. Record keeping is great habit to develop early on. Imagine creating global light with the brush, light will bounce off raised areas to create shadows in the crevices. And vary in shade and tone.

Final Thoughts

Dry brushing is a fundamental miniature technique that can quickly improve your painting skills. Mastering the basics will set the stage for more advanced methods later on. In our next post, we’ll dive deeper into brush control, paint consistency and stroke techniques to refine your dry brushing skills. Don’t worry if your first dry brushing project look ‘clunky’ at this stage.

Stay tuned for the next article!
10% OFF

GET 10% OFF YOUR ORDER AT OUR ETSY SHOP

Visit our HOME PAGE – subscribe to get your code.

Powered by Mailchimp

Dry Brushing Introduction

An AI generated image of a poster promoting an introduction to dry brushing.

What Is Dry Brushing?

Dry brushing is a painting technique that enhances texture and highlights details on miniatures, models and terrain. It involves using a brush with minimal paint to catch raised surfaces, creating natural highlights and depth without intricate blending. This technique is especially popular among miniature figure painters, model train enthusiasts and scale modellers for its ability to quickly bring out fine details. It can of course be used as a final step, but where dry brushing really shines is as an foundation layer. Building highlights and shadows for future layers to showcase.

Dry brushing leaves additional texture behind so is naturally not as well suited to for example, representing skin. Conversely it can work phenomenally well with stone or terrain, because there is a natural texture in existence there. That said in the hands of a skilled dry brush artist, anything is possible. Often with the use of higher quality softer denser brushes, and an ever so slightly wetter paint. This is where dry pallets come in useful, they help to retain moisture, reducing texture for a smoother finish. Most beginners start with a sheet of paper towel.

  • Texture enhancement: emphasizing raised areas.
  • Highlights: without complex layering and blending.
  • Speed: shading, highlighting & stipple base coating.
  • Versatility: miniatures, models and scenery.

Tools and Materials Needed

To get started with dry brushing, you’ll need:

  • Brushes – The two extremes of speciality dry brushes and inexpensive makeup brushes work well. Generally speaking, natural bristles will give you a softer finish than synthetic makeup brushes. If splashing out, look for a quality brush with a high density of bristles to minimise clumping. There are two main styles of dry brush, flathead and broad surfaced roundhead – for different effects. With the latter being the most popular and most preferred by professionals.
  • Textured Dry Palette – A modern specially designed tool to help manage paint consistency by retaining moisture. The old school way was to use a paper towel, which dries out paint leading to a grainy finish.
  • Acrylic Paints – Lighter shades work best for early explorations into dry brush highlighting.

How to Dry Brush – The Basics

  1. Prepare Your Paint – Use a dry texture palette to control the amount of paint on your brush. Using your brush, place a very small amount of paint onto the palette. Work it into the palette, onto some of the texture that is on the palette.
  2. Apply Your Paint – Once most of the paint is off, with very light strokes gently dust the brush over the surface high points. The surface being dry brushed determines direction and intensity of those strokes.
  3. Reload Your Brush – Rather than fully reload each time, slightly dampening the bristles on your wet palette the tiniest amount, can help to activate paint left in the brush in between loads. Bristles should not look/feel wet, nor become oversaturated.
  4. Build Layers – Use multiple passes to enhance depth and refine as needed.

Common beginner mistakes:

  • Using too much paint on the brush.
  • Applying thick layers.
  • Pressing too hard in random directions.
  • Pressing paint into crevices.
  • Using stiff or clogged brushes.
  • Using non contrasting colours.
  • Not allowing primer/base coat to dry first.

First Dry Brushing Exercise

Begin with a textured base or a simple terrain piece. Apply a darker base colour or primer. Let it dry then use dry brushing to enhance details with a lighter shade. Experiment with different pressure levels, brush angles and paint load to see how technique affects the final look. Keep detailed notes – this can feel challenging since you probably just want to get on with your projects. But, keeping a record of disasters and successes will help you in the long run. Record keeping is great habit to develop early on. Imagine creating global light with the brush, light will bounce off raised areas to create shadows in the crevices. And vary in shade and tone.

Final Thoughts

Dry brushing is a fundamental miniature technique that can quickly improve your painting skills. Mastering the basics will set the stage for more advanced methods later on. In our next post, we’ll dive deeper into brush control, paint consistency and stroke techniques to refine your dry brushing skills. Don’t worry if your first dry brushing project look ‘clunky’ at this stage.

Stay tuned for the next article!
10% OFF

GET 10% OFF YOUR ORDER AT OUR ETSY SHOP

Visit our HOME PAGE – subscribe to get your code.

Powered by Mailchimp

Dry Brushing Introduction

An AI generated image of a poster promoting an introduction to dry brushing.

What Is Dry Brushing?

Dry brushing is a painting technique that enhances texture and highlights details on miniatures, models and terrain. It involves using a brush with minimal paint to catch raised surfaces, creating natural highlights and depth without intricate blending. This technique is especially popular among miniature figure painters, model train enthusiasts and scale modellers for its ability to quickly bring out fine details. It can of course be used as a final step, but where dry brushing really shines is as an foundation layer. Building highlights and shadows for future layers to showcase.

Dry brushing leaves additional texture behind so is naturally not as well suited to for example, representing skin. Conversely it can work phenomenally well with stone or terrain, because there is a natural texture in existence there. That said in the hands of a skilled dry brush artist, anything is possible. Often with the use of higher quality softer denser brushes, and an ever so slightly wetter paint. This is where dry pallets come in useful, they help to retain moisture, reducing texture for a smoother finish. Most beginners start with a sheet of paper towel.

  • Texture enhancement: emphasizing raised areas.
  • Highlights: without complex layering and blending.
  • Speed: shading, highlighting & stipple base coating.
  • Versatility: miniatures, models and scenery.

Tools and Materials Needed

To get started with dry brushing, you’ll need:

  • Brushes – The two extremes of speciality dry brushes and inexpensive makeup brushes work well. Generally speaking, natural bristles will give you a softer finish than synthetic makeup brushes. If splashing out, look for a quality brush with a high density of bristles to minimise clumping. There are two main styles of dry brush, flathead and broad surfaced roundhead – for different effects. With the latter being the most popular and most preferred by professionals.
  • Textured Dry Palette – A modern specially designed tool to help manage paint consistency by retaining moisture. The old school way was to use a paper towel, which dries out paint leading to a grainy finish.
  • Acrylic Paints – Lighter shades work best for early explorations into dry brush highlighting.

How to Dry Brush – The Basics

  1. Prepare Your Paint – Use a dry texture palette to control the amount of paint on your brush. Using your brush, place a very small amount of paint onto the palette. Work it into the palette, onto some of the texture that is on the palette.
  2. Apply Your Paint – Once most of the paint is off, with very light strokes gently dust the brush over the surface high points. The surface being dry brushed determines direction and intensity of those strokes.
  3. Reload Your Brush – Rather than fully reload each time, slightly dampening the bristles on your wet palette the tiniest amount, can help to activate paint left in the brush in between loads. Bristles should not look/feel wet, nor become oversaturated.
  4. Build Layers – Use multiple passes to enhance depth and refine as needed.

Common beginner mistakes:

  • Using too much paint on the brush.
  • Applying thick layers.
  • Pressing too hard in random directions.
  • Pressing paint into crevices.
  • Using stiff or clogged brushes.
  • Using non contrasting colours.
  • Not allowing primer/base coat to dry first.

First Dry Brushing Exercise

Begin with a textured base or a simple terrain piece. Apply a darker base colour or primer. Let it dry then use dry brushing to enhance details with a lighter shade. Experiment with different pressure levels, brush angles and paint load to see how technique affects the final look. Keep detailed notes – this can feel challenging since you probably just want to get on with your projects. But, keeping a record of disasters and successes will help you in the long run. Record keeping is great habit to develop early on. Imagine creating global light with the brush, light will bounce off raised areas to create shadows in the crevices. And vary in shade and tone.

Final Thoughts

Dry brushing is a fundamental miniature technique that can quickly improve your painting skills. Mastering the basics will set the stage for more advanced methods later on. In our next post, we’ll dive deeper into brush control, paint consistency and stroke techniques to refine your dry brushing skills. Don’t worry if your first dry brushing project look ‘clunky’ at this stage.

Stay tuned for the next article!
LATEST ARTICLES

10% OFF

GET 10% OFF YOUR ORDER AT OUR ETSY SHOP

Visit our HOME PAGE – subscribe to get your code.

Powered by Mailchimp