Drybrushing Rust: Fascination with Decay

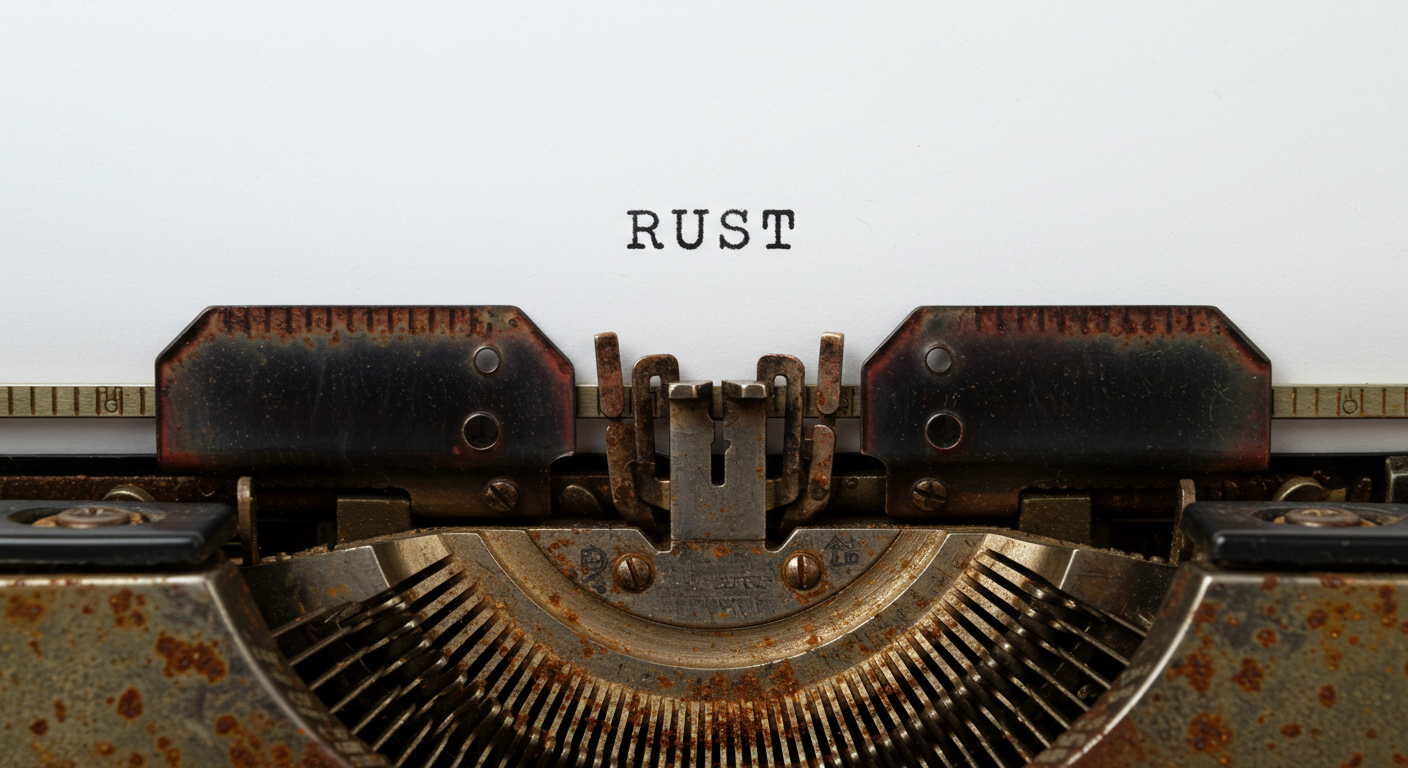
AI generated image of a rusty typewriter typing the word RUST on white paper.

Rust is not only commonplace on my Pinterest boards but also a staple in miniature painting, adding a sense of age, realism and storytelling to miniatures and terrain. Drybrushing is one of the simplest yet most effective ways to create rust effects, allowing artists to build texture and colour with minimal effort. In this guide, we’ll take you through the full process. From beginner friendly techniques to advanced applications.

Understanding Rust

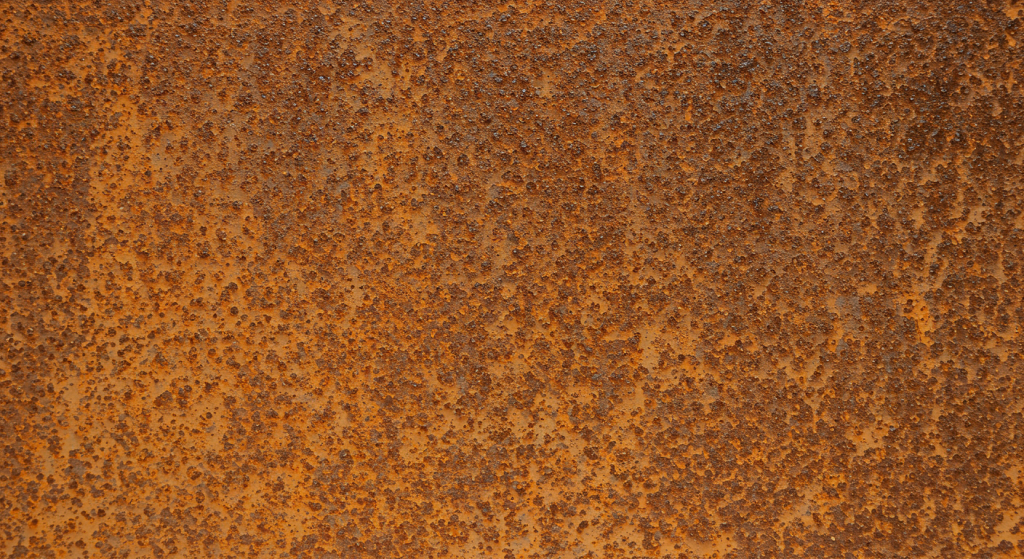
Before diving into replication techniques, it’s important to understand how rust forms. Real rust is the result of oxidation, often appearing in layers with varying shades of brown, orange and red. Observing rust will help inform your painting process.

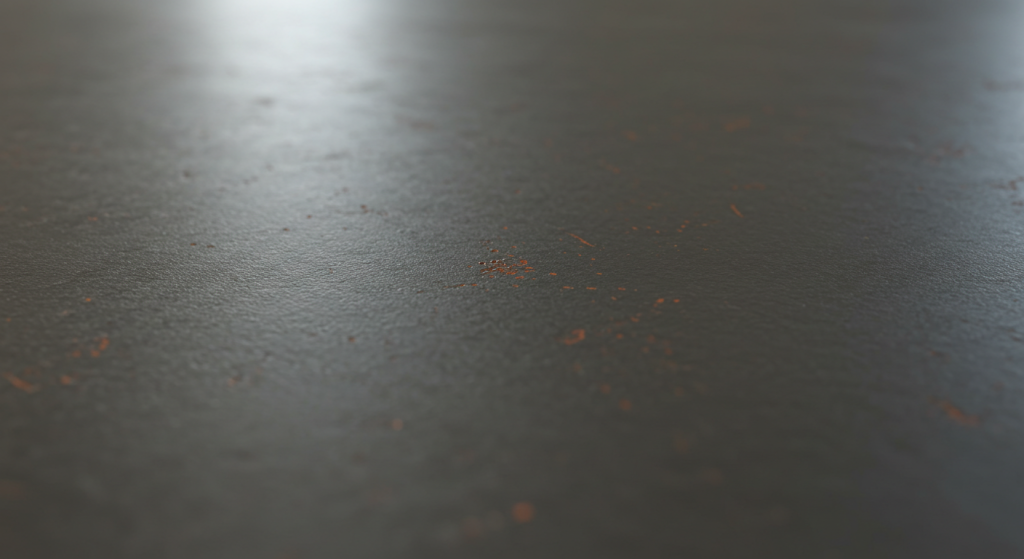
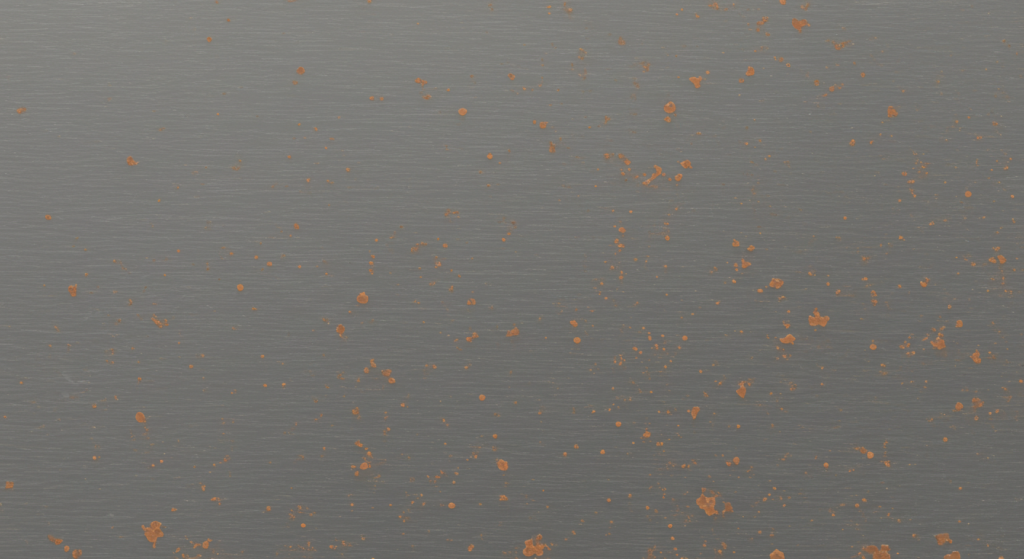
Scientifically acknowledged stages of rust:

Initial Oxidation 2 Fe + O2 → 2 FeO
Iron reacts with oxygen in the air, forming iron (II) oxide (FeO).
This rust is not very stable and quickly reacts with more oxygen.

Formation of Rust4 FeO + O2 → 2 Fe2O3
The iron (II) oxide (FeO) reacts further with oxygen and water to form iron (III) oxide (Fe2O3), also known as ferric oxide.

Scale Formation and Pitting
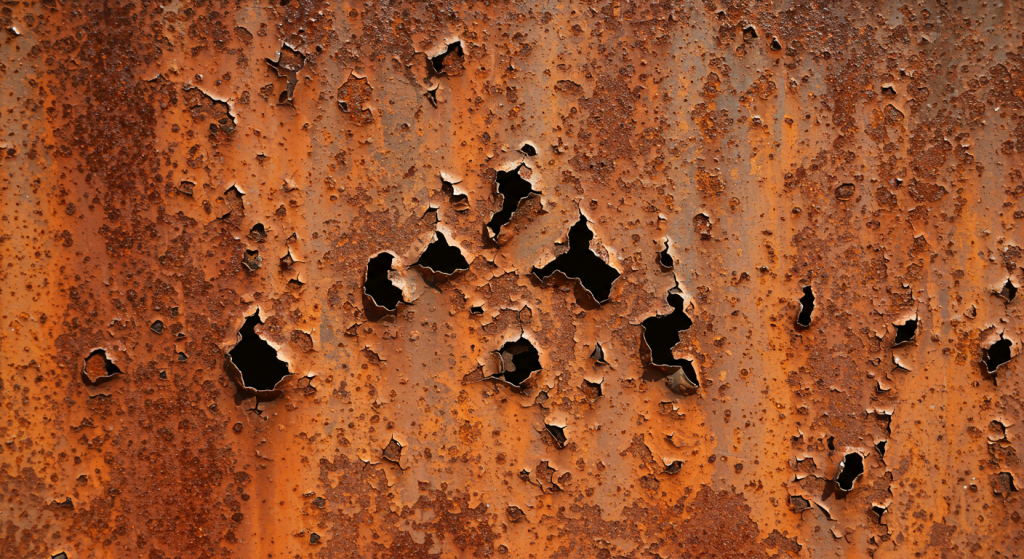
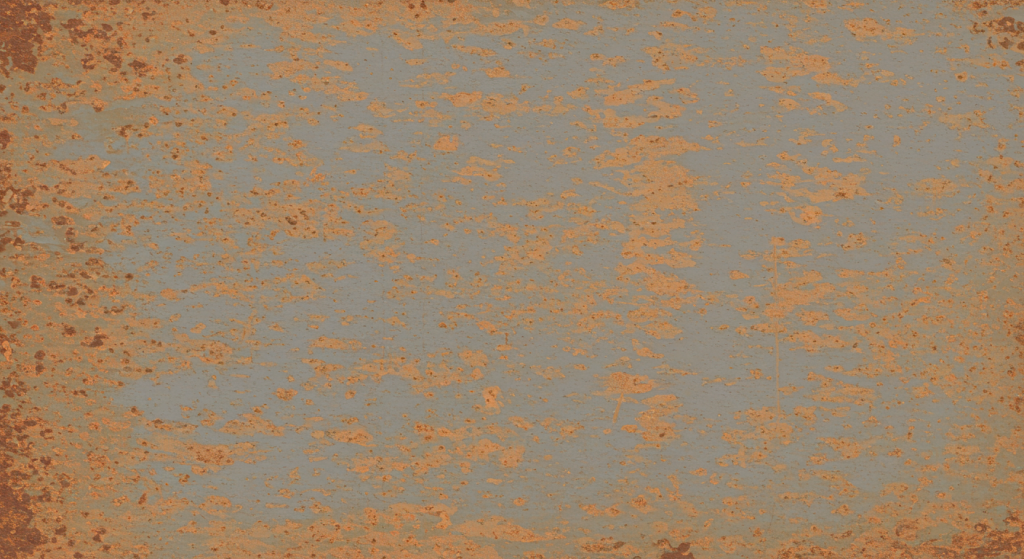
As decay progresses, scale (thicker layers of rust) begins to form, which can lead to pitting or etching of the metal surface.

Penetrating Rust
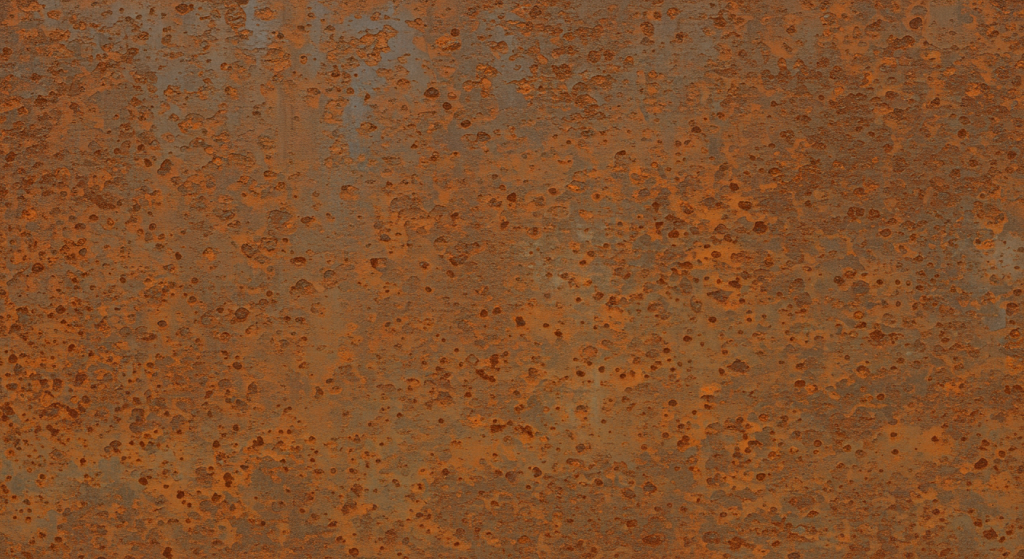
In advanced stages, rust can penetrate through the metal, leading to weakened structures and holes.
Colour Theory for Rust Effects

Rust typically follows a predictable colour progression: deep reddish browns for the base, vibrant oranges for active rust and sometimes streaks of yellow or red for variation. To create a visually compelling effect, contrast is key, placing rusted areas near darker metallic tones will make them stand out. For a deeper dive into colour theory principles, check out our Colour Theory Your New Best Friend article. With a lot to choose from we have selected a couple of popular examples, swap them to suit.

  • Base tones: Burnt Umber, Rhinox Hide, Dark Brown
  • Mid tones: Mournfang Brown, Scrag Brown
  • Highlight tones: Troll Slayer Orange, Ryza Rust
  • Wet & Dry Palette: A wet and dry palette combo is ideal for rust painting. Mixed perfectly on the wet palette and delivered perfectly using the dry one.

Drybrushing Rust on Flat Surfaces

  1. Basecoat: Dark brown to establish depth.
  2. Drybrush #1: Mid brown lightly applied over raised areas.
  3. Drybrush #2: Orange tone, even lighter for subtle highlights.
  4. Drybrush #3: Tiny strokes of bright orange or yellow on edges and corners where rust is most prominent.

Mistakes for rust effects are the similar to other effects. Heavy handedness, overloading the brush, not paying attention to light and applying too much pressure. Always build up in layers for a more natural effect, its easier to add paint than to take it off later! That said with the pressure on, its easy to exercise too much caution resulting in no rust. A tricky balance between confidence and caution! Add layering for depth – Realistic rust is not a single colour but a combination of different shades. Building multiple layers of brown and orange drybrushing creates depth.

  • Wet blending rust tones under drybrushing.
  • Glazing over drybrushed areas for depth (oranges)

Drybrushing Rust on Components

Drybrushing techniques will vary depending on the component, flat surfaces reflect light and progress decay differently to broken jagged edges and components embedded in timber. Additionally, specific reactions can occur between particular timbers and metals. Western red cedar for example contains tropolones that react with copper to form a green coating on the metal. This is where we go full circle, back to the observation of specific components. How combinations of materials progress decay and with what result. Not forgetting environmental factors e.g. a rusted anchor revealed as the tide regresses. With an anchor it is often the chain that rusts first, detaching the anchor. With this large hunk of forged/cast steel progressing through multiple stages of decay at a slower rate. Steel of course, is primarily an alloy of iron and carbon, and if not galvanised, does rust.

  • Flat panels: Gradual colour layering works best.
  • Edges & bolts: Heavier rust accumulation looks more natural.

Drybrushing + Weathering Powders

Weathering powders add realistic aging effects to models, miniatures, and artwork. Used by model train enthusiasts, scale modelers, and artists, they create rust, dirt, and grime without a glossy finish, enhancing realism in dioramas, military models and wargaming miniatures. Weathering powders are typically applied over dry paint, allowing them to settle into textures and crevices for a natural look. They can be brushed on dry or mixed with a binder like water, alcohol or matte medium for a more permanent effect. Some modelers also mix them into wet paint or clear coats to create subtle blended effects.

Drybrushing + DIY Texture Mediums

For a more textured rust effect, experiment with:

  • Mixing baking soda or fine sand into brown acrylic paint.
  • Crackle medium to create peeling rust effects.

Drybrushing + Chipping Medium

Chipping mediums are speciality fluids used in scale modelling to create realistic paint chipping effects and flaking rust. They’re usually applied between paint layers, allowing the topcoat to be easily worn away – revealing underlying colours. Chipping mediums are gaining traction in miniature painting, originally invented by AK Interactive to simulate weathered surfaces on vehicles, aircraft and dioramas.

  1. Apply a rust coloured base layer.
  2. Apply chipping medium before painting the top layer.
  3. Once dry, scrub lightly with a brush or sponge to reveal rust beneath.
  4. Finish with drybrushed highlights for additional texture.

Drybrushing + Oil Paints

While acrylics are used most commonly, oil paints offer unique benefits for creating realistic rust effects. They do need a matte surface to bind to – so prime first with an extremely matte layer and allow any acrylic to dry before oil based application.

  • Bind to a porous matte dry surface.
  • Longer drying and working time.
  • Can be sponged back.
  • Subtle colour transitions for natural looking oxidation.

Conclusion

Mastering rust effects is all about careful observation, layering, contrast and texture. Whether you’re starting with simple brown into orange gradients or pushing realism with oils and chipping techniques, these starting points will help elevate your miniature painting. Want to see these techniques in action? Check out these trusted resources:

Have your own rust effects to share? Drop a comment below or tag us in your painted minis!

10% OFF

GET 10% OFF YOUR ORDER AT OUR ETSY SHOP

Visit our HOME PAGE – subscribe to get your code.

Powered by Mailchimp

Drybrushing Rust: Fascination with Decay

AI generated image of a rusty typewriter typing the word RUST on white paper.

Rust is not only commonplace on my Pinterest boards but also a staple in miniature painting, adding a sense of age, realism and storytelling to miniatures and terrain. Drybrushing is one of the simplest yet most effective ways to create rust effects, allowing artists to build texture and colour with minimal effort. In this guide, we’ll take you through the full process. From beginner friendly techniques to advanced applications.

Understanding Rust

Before diving into replication techniques, it’s important to understand how rust forms. Real rust is the result of oxidation, often appearing in layers with varying shades of brown, orange and red. Observing rust will help inform your painting process.

Scientifically acknowledged stages of rust:

Initial Oxidation 2 Fe + O2 → 2 FeO
Iron reacts with oxygen in the air, forming iron (II) oxide (FeO).
This rust is not very stable and quickly reacts with more oxygen.

Formation of Rust4 FeO + O2 → 2 Fe2O3
The iron (II) oxide (FeO) reacts further with oxygen and water to form iron (III) oxide (Fe2O3), also known as ferric oxide.

Scale Formation and Pitting
As decay progresses, scale (thicker layers of rust) begins to form, which can lead to pitting or etching of the metal surface.

Penetrating Rust
In advanced stages, rust can penetrate through the metal, leading to weakened structures and holes.
Colour Theory for Rust Effects

Rust typically follows a predictable colour progression: deep reddish browns for the base, vibrant oranges for active rust and sometimes streaks of yellow or red for variation. To create a visually compelling effect, contrast is key, placing rusted areas near darker metallic tones will make them stand out. For a deeper dive into colour theory principles, check out our Colour Theory Your New Best Friend article. With a lot to choose from we have selected a couple of popular examples, swap them to suit.

  • Base tones: Burnt Umber, Rhinox Hide, Dark Brown
  • Mid tones: Mournfang Brown, Scrag Brown
  • Highlight tones: Troll Slayer Orange, Ryza Rust
  • Wet & Dry Palette: A wet and dry palette combo is ideal for rust painting. Mixed perfectly on the wet palette and delivered perfectly using the dry one.

Drybrushing Rust on Flat Surfaces

  1. Basecoat: Dark brown to establish depth.
  2. Drybrush #1: Mid brown lightly applied over raised areas.
  3. Drybrush #2: Orange tone, even lighter for subtle highlights.
  4. Drybrush #3: Tiny strokes of bright orange or yellow on edges and corners where rust is most prominent.

Mistakes for rust effects are the similar to other effects. Heavy handedness, overloading the brush, not paying attention to light and applying too much pressure. Always build up in layers for a more natural effect, its easier to add paint than to take it off later! That said with the pressure on, its easy to exercise too much caution resulting in no rust. A tricky balance between confidence and caution! Add layering for depth – Realistic rust is not a single colour but a combination of different shades. Building multiple layers of brown and orange drybrushing creates depth.

  • Wet blending rust tones under drybrushing.
  • Glazing over drybrushed areas for depth (oranges)

Drybrushing Rust on Components

Drybrushing techniques will vary depending on the component, flat surfaces reflect light and progress decay differently to broken jagged edges and components embedded in timber. Additionally, specific reactions can occur between particular timbers and metals. Western red cedar for example contains tropolones that react with copper to form a green coating on the metal. This is where we go full circle, back to the observation of specific components. How combinations of materials progress decay and with what result. Not forgetting environmental factors e.g. a rusted anchor revealed as the tide regresses. With an anchor it is often the chain that rusts first, detaching the anchor. With this large hunk of forged/cast steel progressing through multiple stages of decay at a slower rate. Steel of course, is primarily an alloy of iron and carbon, and if not galvanised, does rust.

  • Flat panels: Gradual colour layering works best.
  • Edges & bolts: Heavier rust accumulation looks more natural.

Drybrushing + Weathering Powders

Weathering powders add realistic aging effects to models, miniatures, and artwork. Used by model train enthusiasts, scale modelers, and artists, they create rust, dirt, and grime without a glossy finish, enhancing realism in dioramas, military models and wargaming miniatures. Weathering powders are typically applied over dry paint, allowing them to settle into textures and crevices for a natural look. They can be brushed on dry or mixed with a binder like water, alcohol or matte medium for a more permanent effect. Some modelers also mix them into wet paint or clear coats to create subtle blended effects.

Drybrushing + DIY Texture Mediums

For a more textured rust effect, experiment with:

  • Mixing baking soda or fine sand into brown acrylic paint.
  • Crackle medium to create peeling rust effects.

Drybrushing + Chipping Medium

Chipping mediums are speciality fluids used in scale modelling to create realistic paint chipping effects and flaking rust. They’re usually applied between paint layers, allowing the topcoat to be easily worn away – revealing underlying colours. Chipping mediums are gaining traction in miniature painting, originally invented by AK Interactive to simulate weathered surfaces on vehicles, aircraft and dioramas.

  1. Apply a rust coloured base layer.
  2. Apply chipping medium before painting the top layer.
  3. Once dry, scrub lightly with a brush or sponge to reveal rust beneath.
  4. Finish with drybrushed highlights for additional texture.

Drybrushing + Oil Paints

While acrylics are used most commonly, oil paints offer unique benefits for creating realistic rust effects. They do need a matte surface to bind to – so prime first with an extremely matte layer and allow any acrylic to dry before oil based application.

  • Bind to a porous matte dry surface.
  • Longer drying and working time.
  • Can be sponged back.
  • Subtle colour transitions for natural looking oxidation.

Conclusion

Mastering rust effects is all about careful observation, layering, contrast and texture. Whether you’re starting with simple brown into orange gradients or pushing realism with oils and chipping techniques, these starting points will help elevate your miniature painting. Want to see these techniques in action? Check out these trusted resources:

Have your own rust effects to share? Drop a comment below or tag us in your painted minis!

10% OFF

GET 10% OFF YOUR ORDER AT OUR ETSY SHOP

Visit our HOME PAGE – subscribe to get your code.

Powered by Mailchimp

Drybrushing Rust: Fascination with Decay

AI generated image of a rusty typewriter typing the word RUST on white paper.

Rust is not only commonplace on my Pinterest boards but also a staple in miniature painting, adding a sense of age, realism and storytelling to miniatures and terrain. Drybrushing is one of the simplest yet most effective ways to create rust effects, allowing artists to build texture and colour with minimal effort. In this guide, we’ll take you through the full process. From beginner friendly techniques to advanced applications.

Understanding Rust

Before diving into replication techniques, it’s important to understand how rust forms. Real rust is the result of oxidation, often appearing in layers with varying shades of brown, orange and red. Observing rust will help inform your painting process.

Scientifically acknowledged stages of rust:

Initial Oxidation 2 Fe + O2 → 2 FeO
Iron reacts with oxygen in the air, forming iron (II) oxide (FeO).
This rust is not very stable and quickly reacts with more oxygen.

Formation of Rust4 FeO + O2 → 2 Fe2O3
The iron (II) oxide (FeO) reacts further with oxygen and water to form iron (III) oxide (Fe2O3), also known as ferric oxide.

Scale Formation and Pitting
As decay progresses, scale (thicker layers of rust) begins to form, which can lead to pitting or etching of the metal surface.

Penetrating Rust
In advanced stages, rust can penetrate through the metal, leading to weakened structures and holes.
Colour Theory for Rust Effects

Rust typically follows a predictable colour progression: deep reddish browns for the base, vibrant oranges for active rust and sometimes streaks of yellow or red for variation. To create a visually compelling effect, contrast is key, placing rusted areas near darker metallic tones will make them stand out. For a deeper dive into colour theory principles, check out our Colour Theory Your New Best Friend article. With a lot to choose from we have selected a couple of popular examples, swap them to suit.

  • Base tones: Burnt Umber, Rhinox Hide, Dark Brown
  • Mid tones: Mournfang Brown, Scrag Brown
  • Highlight tones: Troll Slayer Orange, Ryza Rust
  • Wet & Dry Palette: A wet and dry palette combo is ideal for rust painting. Mixed perfectly on the wet palette and delivered perfectly using the dry one.

Drybrushing Rust on Flat Surfaces

  1. Basecoat: Dark brown to establish depth.
  2. Drybrush #1: Mid brown lightly applied over raised areas.
  3. Drybrush #2: Orange tone, even lighter for subtle highlights.
  4. Drybrush #3: Tiny strokes of bright orange or yellow on edges and corners where rust is most prominent.

Mistakes for rust effects are the similar to other effects. Heavy handedness, overloading the brush, not paying attention to light and applying too much pressure. Always build up in layers for a more natural effect, its easier to add paint than to take it off later! That said with the pressure on, its easy to exercise too much caution resulting in no rust. A tricky balance between confidence and caution! Add layering for depth – Realistic rust is not a single colour but a combination of different shades. Building multiple layers of brown and orange drybrushing creates depth.

  • Wet blending rust tones under drybrushing.
  • Glazing over drybrushed areas for depth (oranges)

Drybrushing Rust on Components

Drybrushing techniques will vary depending on the component, flat surfaces reflect light and progress decay differently to broken jagged edges and components embedded in timber. Additionally, specific reactions can occur between particular timbers and metals. Western red cedar for example contains tropolones that react with copper to form a green coating on the metal. This is where we go full circle, back to the observation of specific components. How combinations of materials progress decay and with what result. Not forgetting environmental factors e.g. a rusted anchor revealed as the tide regresses. With an anchor it is often the chain that rusts first, detaching the anchor. With this large hunk of forged/cast steel progressing through multiple stages of decay at a slower rate. Steel of course, is primarily an alloy of iron and carbon, and if not galvanised, does rust.

  • Flat panels: Gradual colour layering works best.
  • Edges & bolts: Heavier rust accumulation looks more natural.

Drybrushing + Weathering Powders

Weathering powders add realistic aging effects to models, miniatures, and artwork. Used by model train enthusiasts, scale modelers, and artists, they create rust, dirt, and grime without a glossy finish, enhancing realism in dioramas, military models and wargaming miniatures. Weathering powders are typically applied over dry paint, allowing them to settle into textures and crevices for a natural look. They can be brushed on dry or mixed with a binder like water, alcohol or matte medium for a more permanent effect. Some modelers also mix them into wet paint or clear coats to create subtle blended effects.

Drybrushing + DIY Texture Mediums

For a more textured rust effect, experiment with:

  • Mixing baking soda or fine sand into brown acrylic paint.
  • Crackle medium to create peeling rust effects.

Drybrushing + Chipping Medium

Chipping mediums are speciality fluids used in scale modelling to create realistic paint chipping effects and flaking rust. They’re usually applied between paint layers, allowing the topcoat to be easily worn away – revealing underlying colours. Chipping mediums are gaining traction in miniature painting, originally invented by AK Interactive to simulate weathered surfaces on vehicles, aircraft and dioramas.

  1. Apply a rust coloured base layer.
  2. Apply chipping medium before painting the top layer.
  3. Once dry, scrub lightly with a brush or sponge to reveal rust beneath.
  4. Finish with drybrushed highlights for additional texture.

Drybrushing + Oil Paints

While acrylics are used most commonly, oil paints offer unique benefits for creating realistic rust effects. They do need a matte surface to bind to – so prime first with an extremely matte layer and allow any acrylic to dry before oil based application.

  • Bind to a porous matte dry surface.
  • Longer drying and working time.
  • Can be sponged back.
  • Subtle colour transitions for natural looking oxidation.

Conclusion

Mastering rust effects is all about careful observation, layering, contrast and texture. Whether you’re starting with simple brown into orange gradients or pushing realism with oils and chipping techniques, these starting points will help elevate your miniature painting. Want to see these techniques in action? Check out these trusted resources:

Have your own rust effects to share? Drop a comment below or tag us in your painted minis!
LATEST ARTICLES

10% OFF

GET 10% OFF YOUR ORDER AT OUR ETSY SHOP

Visit our HOME PAGE – subscribe to get your code.

Powered by Mailchimp