Batch Painting Miniatures: Using Project Management Skills
Facing the Grey Tide Again
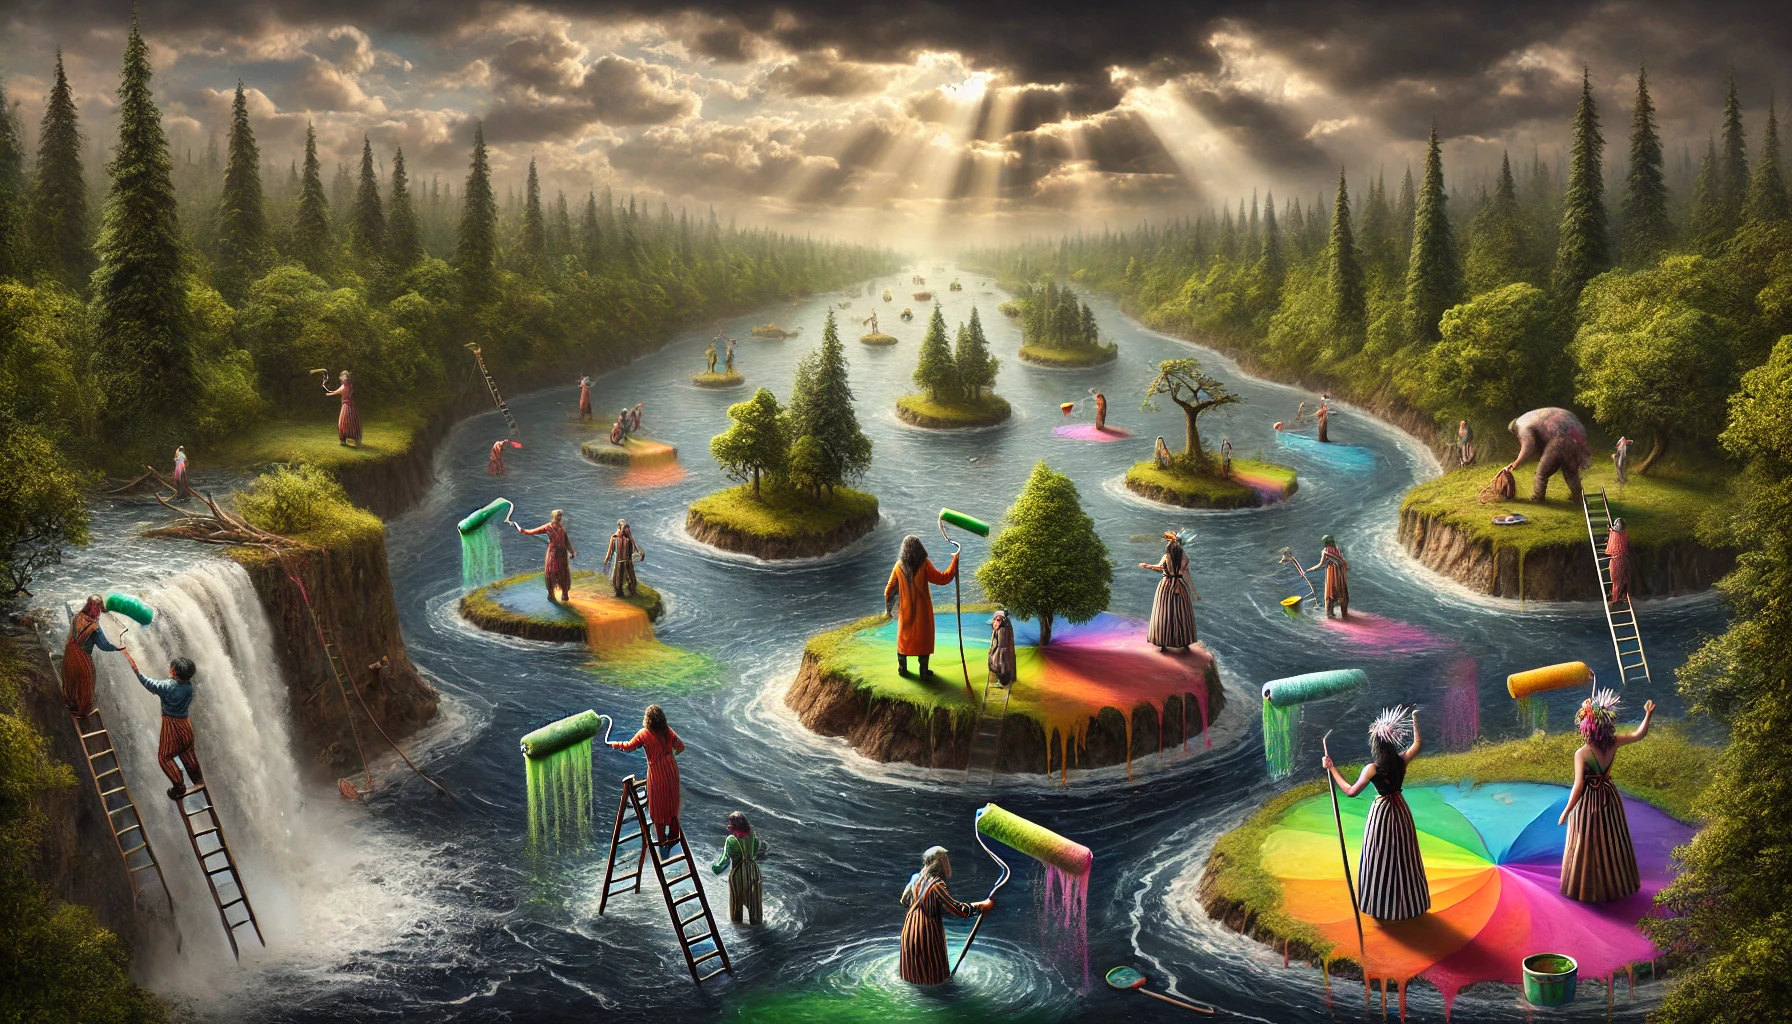
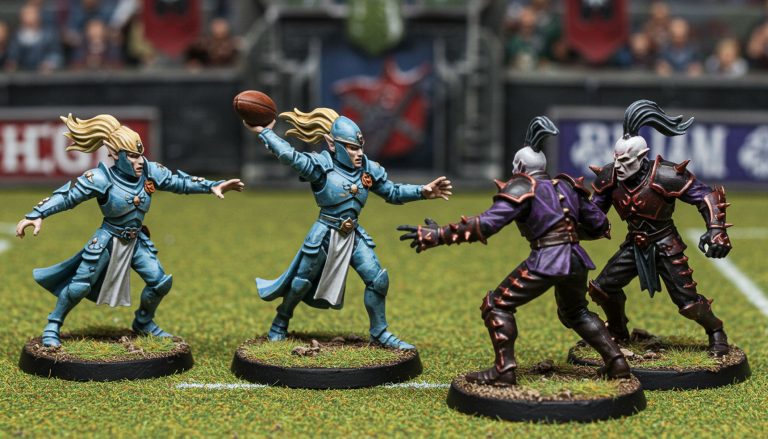
It’s been a long time since I’ve painted a team – probably around thirty years! Painting miniatures has always been my mindful escape from everyday life, but a mountain of unpainted plastic is pretty daunting. Those dusty Skaven from my youth were painted one at a time; now I’m staring at twelve Blood Bowl players and wondering whether I’ll ever get them on the table. To make matters more interesting, I’m a tech CEO by day. Could the workplace project management methodology help me paint a Blood Bowl team for the pitch? And could “speed painting” or “batch painting” (not necessarily with Citadels Speedpaint) get my models game ready without sacrificing quality? Batch Painting miniatures using project management skills could be the answer.
Back in the 1990’s my army workflow was simple: prime and then lavish attention on every detail one miniature at a time. Today, speed painting exists because some gamers want armies on the table fast. The idea is to trade a bit of perfection for a lot of progress, a decision that should sound familiar to project managers. Usually not great for every IT project but feasible for my hobby.
Project Management Principles for Painting Miniatures
The Iron Triangle
In project management, the quality of work is constrained by three variables: scope, cost and time. Together they form the project management triangle (also called the iron triangle or triple constraint). Balancing these is essential because they all affect one another. For example, if you want to finish sooner, you either reduce scope or increase budget. Change one side of the triangle and the others must adjust accordingly.
Applying this to my new Ratmen team, scope becomes the number of players and the level of detail/quality aimed for. Time relates to how quickly I want the team ready for the pitch. Cost includes any new paint, rattle cans and equipment needed. If I decide to paint all twelve players at display quality (large scope and high quality), I’d either need more time or a bigger budget, invest in an airbrush (unpopular idea at home) or increase human resources! These new Ratmen land this November, so to finish painting by Christmas my plan is to develop and use considered shortcuts, limit the colour palette for instance or simplify highlights. Understanding the triangle helps me set realistic expectations in terms of finish. Quality and scope are connected, choosing a high tabletop standard increases the scope, while accepting a “three‑foot rule” (looks good at arm’s length) reduces it. But still delivers quality by gaming standards. I would love high tabletop but could be looking at a summer 2026 for deployment!
Waterfall vs. Agile for Teams
Project managers love methodologies, once agreed they unify working practice. Agile is iterative and flexible. Waterfall is linear and sequential. For my Blood Bowl team (and as with real life), I’m trying a hybrid: plan thoroughly, then paint in phases. Or ‘sprints’, which is an Agile term for phases. I describe Waterfall as a sequential methodology divided into distinct phases, each beginning only after the previous one is completed. A term originally coined by Dr Winston W. Royce in 1970.
Waterfall suits projects with well defined pre-determined requirements and fixed budgets. Inflexible but comfortingly predictable. Precise sequential phases that flow like a waterfall, working best when the concept is clear, risk is low and requirements are 100% stable. Agile offers a lot more flexibility. Each sprint begins with sprint planning and all working days begin with a ‘standup’, where developers and PMs evaluate and measure against the sprint plan. Sprints are planned in advance but only two or three at a time, and can easily pivot to accommodate amended stakeholder priorities.
Painting a team has a clear end goal: painted players on the table but the risk of scope creep is real – adding players (too easy as Anarky has the 3D printers), changing colour schemes and chasing perfection. By using Waterfall and meticulous planning, I have the potential to eliminate, creep. Self control will ultimately given how that pans out but with this clear framework, I know its possible.
- Define scope, cost and time
- Testing colours & application processes
- Design & finalise colour scheme (swatches & plan)
- Develop a detailed plan & gather resources (workflow plan)
- Execute the painting
- Implement quality control & reflection
- Deploy the Ratmen
- Review for amend process for next time
Reflection & Bug Fixing
There a term that I don’t often use, while conceptually appealing and often integrated into our planning since this is real life – I don’t like the actual word. “Wagile” – Waterfall and Agile together. There must be a better one! “Plan Ratman” needs the ability to pivot if it doesn’t work, hence the introduction of reflection – danger zone for scope creep. The process of reflection and the results of it, can be managed.
- What will I be reflecting on?
- To what extent will results of that reflection effect change?
- Should that change be immediate or reserved for later?
- Define later – during implementation or introduced next time?
I’ve defined desired player standard as “should look good from across the pitch, not display case perfect” so this is what I’ll primarily be reflecting on, alongside the time factor. If players meet that criteria then fantastic, if not then a decision will need to be made on whether or not a case exists to effect change – to amend the plan. In the real world of bug fixing code, we define bug types to determine their priority. Does it break the test site for example, if so its a priority one, requiring immediate attention. You can see where this is heading. Poor painting that properly diminish desired standard should be addressed while minor errors should be ignored – they won’t impact play and wont be noticeable when in play. There is middle ground, edit based on what you feel you can live with. Dealing with bugs adds a time penalty, so the question to myself for this project will be “is the bug fix worth the time spent fixing it?”
- Priority one – looks terrible from across the pitch
- Priority two – looks okay, if its fast to fix I’ll fix it
Defining Requirements, Scope & Cost
Just as a PM writes a requirements document, I start by defining my Blood Bowl team’s scope. ** I haven’t factored in team purchase cost because Anarky Creations make and sell them. New products are always test printed and printer settings fine tuned accordingly, I’ll be painting test prints. I have added a small budget for additional resources, for products that speed up the process and missing colours.
- Team – Painted Blood Bowl team of 12 players on bases (scope).
- Standard – Tabletop quality, should look good from across the pitch, not display case perfect.
- Deadline – Ready before Christmas 2025. That’s the time constraint.
- Budget £10 – Existing paints/brushes + small budget for new paints (cost).**
Planning: Ratmen Team Design
Ratmen: Colour Scheme Planning & Tracking
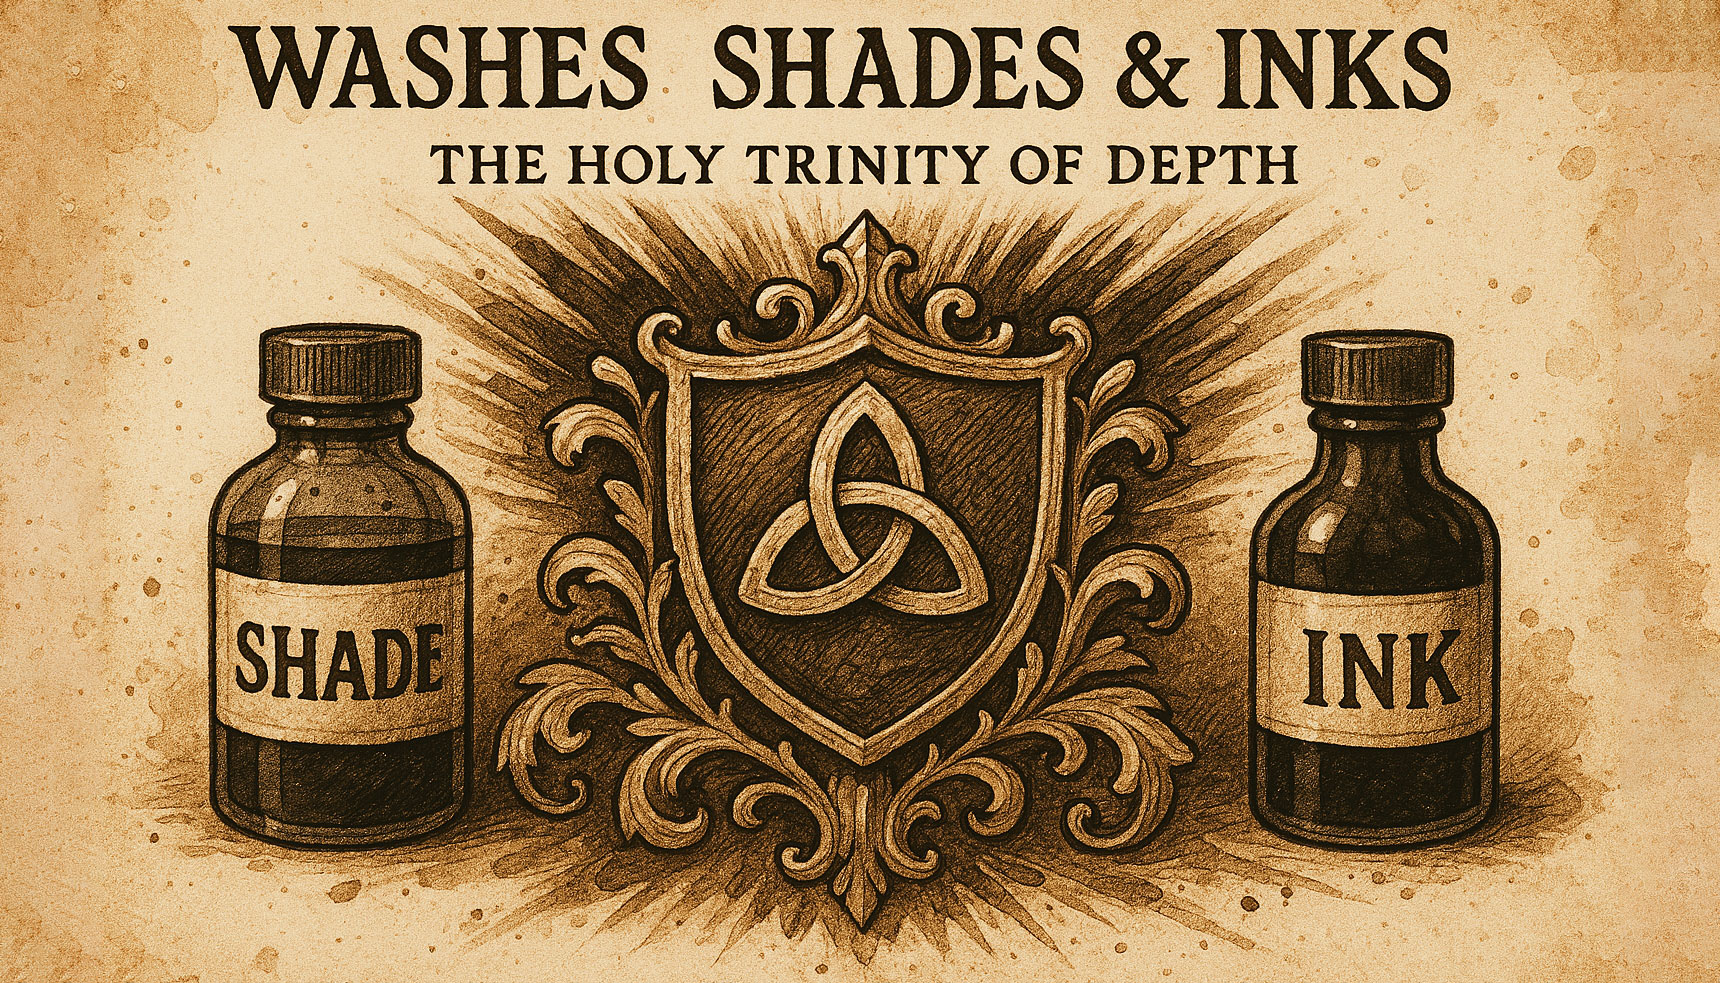
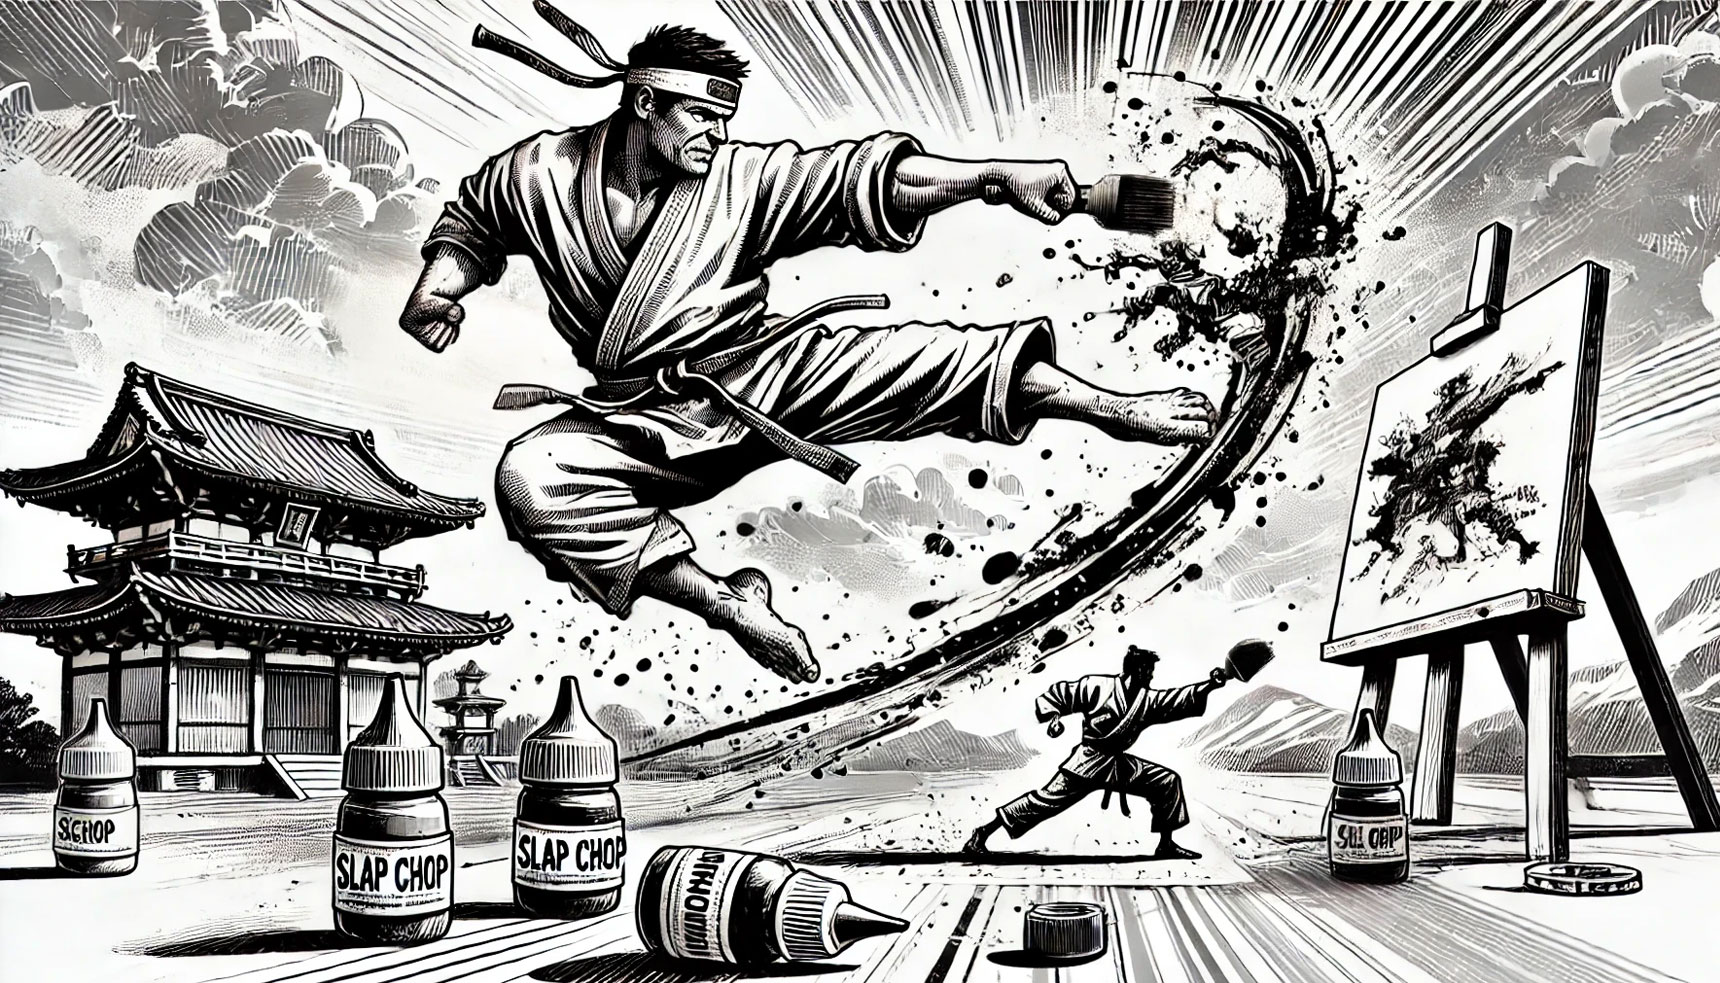
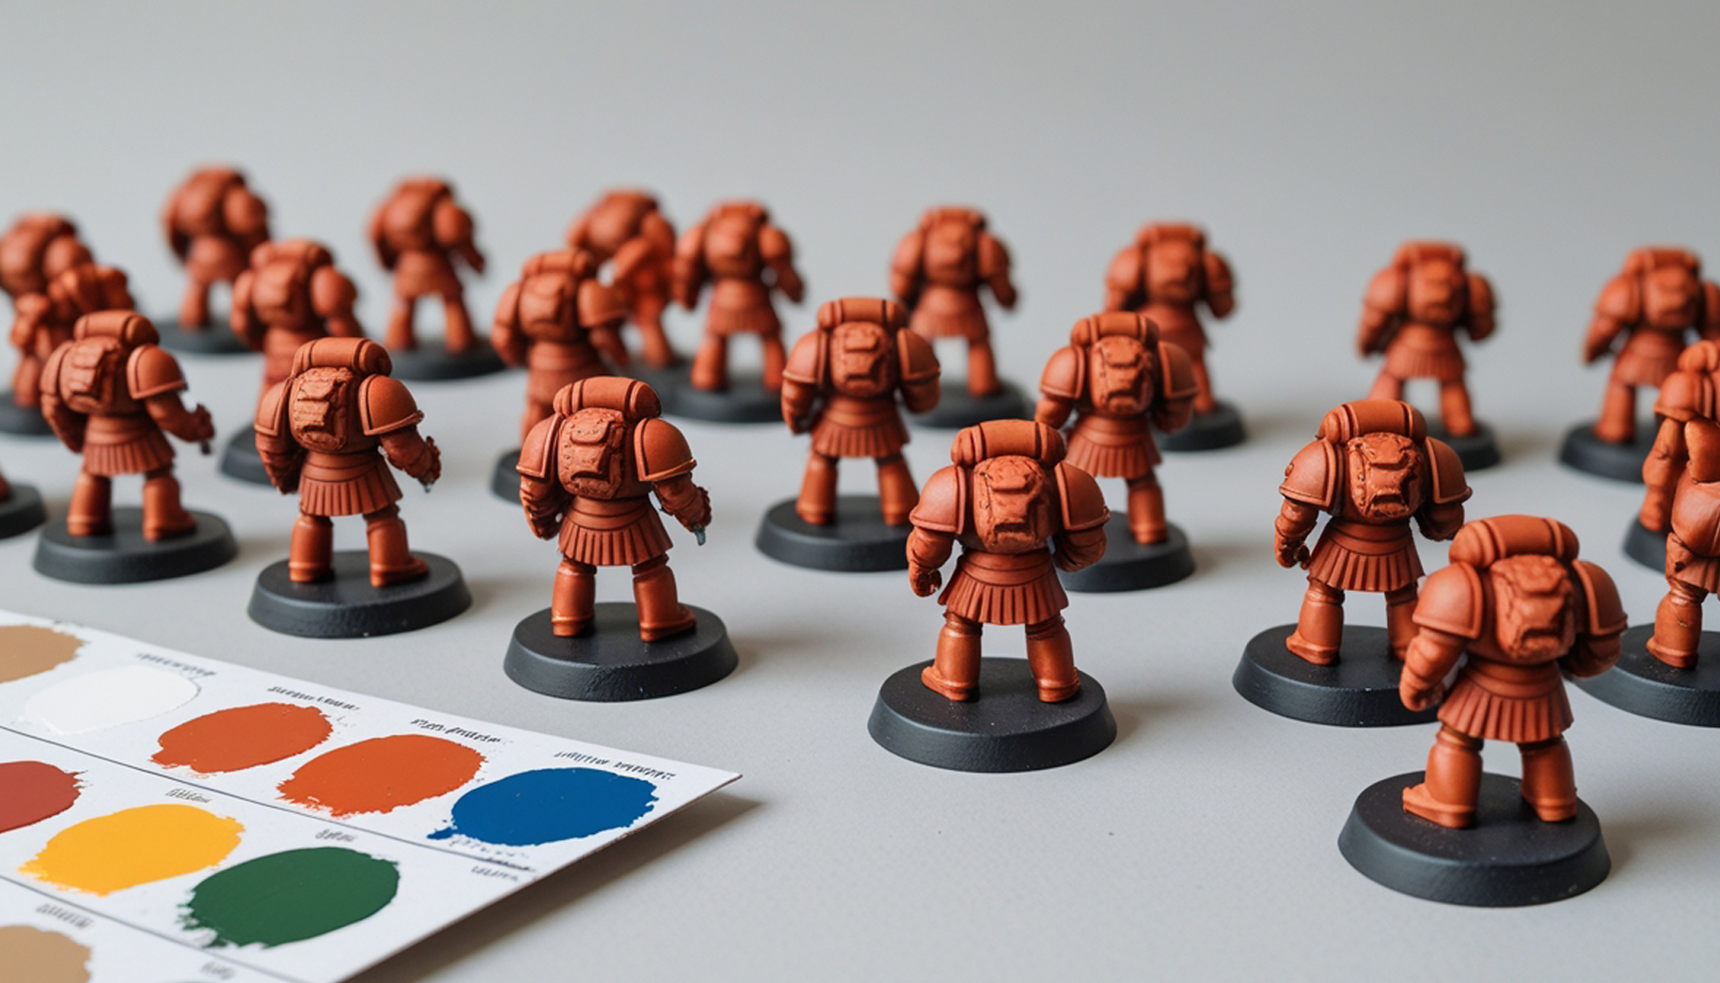
Design, where creative energy meets planning. I want a striking yet simple colour scheme. Gnomestew highly recommends using a simple palette and washes for batch painting, to achieve depth quickly and I already use contrast paints. Basecoat, shade and highlight in a single coat. Then there’s the “slap‑chop” method which we have mentioned before and also zenithal. These sorts of details can be worked out during design and testing.
For consistency and quality control, I’ll create physical colour swatches and a colour plan. The former is just a piece of cardboard with annotated swatches of planned paint – use alongside a more detailed colour plan like the example one below. I’ve used this system before to manage huge gaps between painting sessions and it works well. I’d like me new Ratmen to be understated and shadowy, with bright emerald/brass elements breaking through. I’ll develop colour palette ideas to test on spares and edit until I’m reasonably happy. I’ve found its important to note down custom mixes as you go along. For simplicity this can be ‘x1 drop of colour brand/colour dripped from brush size 2 PLUS x3 drops of brand/colour’. If you need help with colour decisions then this article is great. It won’t give you the schemes on a plate (and shouldn’t because your schemes are yours) but it will help you understand how colour works – check it out here. We wrote this to understand it better ourselves. My finalised colour scheme will comprise:
- Physical colour swatches
- Detailed colour plan
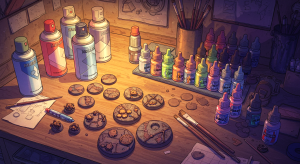
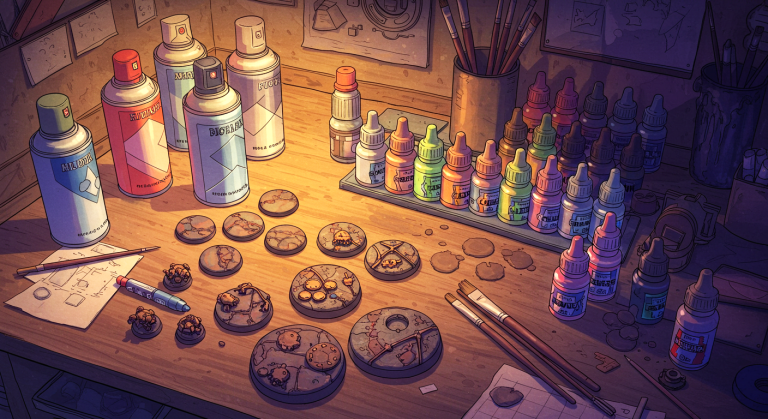
Resource Planning: Making a List
For my Ratmen, this simply means compiling a detailed list of all the materials and resources required for the project. I use our Anarky Creations Dry Brush Palette, an Army Painter Wet Palette and my cherished boxed sets of Artis Opus brushes. Because they are cherished, batch painting may not utilize them. I may switch to my second tier Citadels. Most YouTubers recommend using your biggest brush for speed which for me is size 2, adding a drop of water to acrylics for workability and a Well Palette. I don’t use wells but there’s a old one here to experiment with. My resource planning list will look similar to this:
- Rattle cans (brand/colour)
- Regular paints (brand/color)
- Specialist paints (brand/colour)
- Brushes (quality/sizes)
- Mixing palettes (well/wet/dry brush)
- Water pot
- Dampening sponge
- Wooden stick – bluetac bases/players on for spray priming
- Spray painting area – we use a greenhouse (minus plants)
- Optivisor magnifying headset
- Adhesive
- Spray sealant
- Area set aside for drying
- Masking tape – for labelling
Preparing Miniatures for Painting: Favourite Tools
I prefer to paint my bases and miniatures separately and assemble them later. Remove any tiny build sprues from bases and players. I use a set of small files suitable for resin, a range of grits and a small craft scalpel. Invaluable is an Optivisor magnifying headset which my wife got for Christmas (six years ago), from Cooksons Gold. If you just look on Amazon then it may not be obvious how many versions there are, I have the Optivisor 2.0x No4 (Item No: 999 232) and the Optiloupe Auxiliary 2.5x Lens For Optivisor Range attachment (Item No: 997 6460). There are multiple options for different magnifications and it has a removable headband cover, which means its replaceable. I have replaced it once and think that did come from Amazon. Its expensive but totally worth the expenditure in my opinion, its been used to fix glasses and read small print too.
Priming Miniatures: Favourite Primer
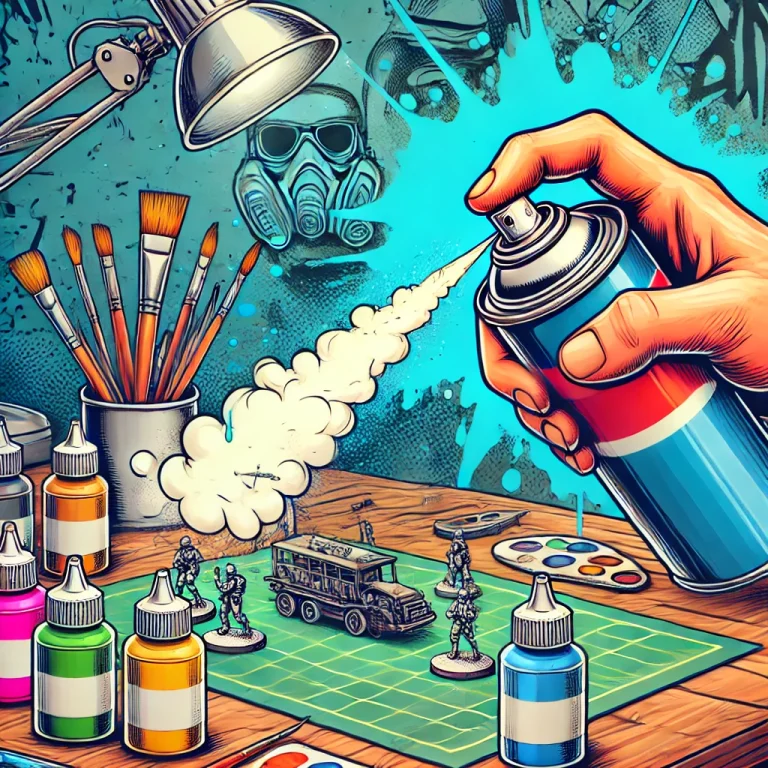
I’ve recently become a big fan of coloured primers, in particular Colour Forge. We are not sponsored or anything I just like them, they lay on well, result in a lovely finish and very importantly (to me) are not bland. They add life to my workstation – in my time off I don’t want to look at a sea of grey unless I actually need it. I’m not sure what colour it will be yet but it will be a colour, and likely different for bases and players. Two coats on a base (used as a base colour) and one on a player. I’ll probably zenithal prime or slap chop to speed things up. Zenithal does not need to be black, grey, white! It can break free from those constraints if you wish it to.
Batch Painting Planning
Batch painting is new to me. I’ll adopt an assembly line approach and find my “sweet spot”, this means figuring out how many miniatures I can batch at once. Hopefully all twelve but this may reducing the number. They’ll be a dedicated ‘drying area’ – an extra large cutting board. There is a smaller one but this doesn’t lend itself to masking tape labelling. A strategy I commonly use for woodwork but could also be applied to batch painting – not labelling the miniatures, but the tabletop as an aide memoir for individual players. Documenting potential errors, painting stage they are at and so on. Easier and a far more visual way to keep track of individual players. And also scalable.
Defining The Workflow: Very Important
Fail to prepare – prepare to fail – as they say. I’m tackling this like a PM by making and printing out (yes!) a workflow plan. It’s highly unlikely that I’ll get consecutive weeks let alone days and will need a dedicated workflow for consistency. This should always be carefully thought out and defined in advance, determined by your R&D, which in this case is your test painting. On painting day I will have on or near my workspace, these three planning aids:
- Colour Swatch Chart – with real colour swatches (annotated)
- Colour Plan – with detailed guidance/notes
- Workflow Plan – use our Batch Painting Workflow Planner
Example Workflow Plan
Download a Batch Painting Workflow Planner – with an example to get you started. This is an editable Word document for you to make your own. Subscribe for OFFERS and NEWS too if you want to – our Welcome email includes a discount code for our Etsy Store.
Final Thoughts
Applying project management principles to painting isn’t about turning a hobby into a job; it’s about borrowing useful tools to make a daunting task feel accessible. The iron triangle is a solid reminder of balancing volume, time and budget. How much detail to commit to and what are the compromises. Waterfall provides a clear sequence so I’m not revisiting steps. Combine this with specialist techniques and batch processes to reveal a series of planned and manageable phases. Part two will (hopefully!) document my finished Blood Bowl team and share photos from that process. I’ll report back on whether the plan held up and offer suggestions for improvement. Until then, why not try a formal framework approach to painting your next army? Will batch painting miniatures using project management skills work for you? Grab your paints, set your scope and embrace the iron triangle.